
Maximize Your Efficiency with the Array Tool: A Quick Guide
Hey everyone, welcome back to Rabbit Laser USA! Today, I want to share a quick tip that will save you time and make your workflow more efficient. We’re going to dive into using the array tool in LightBurn.
Step-by-Step Guide to Using the Array Tool
- Prepare Your Artwork: First things first, ensure your artwork is grouped together. Grouping everything helps it move and duplicate as a single unit, making the process smoother.
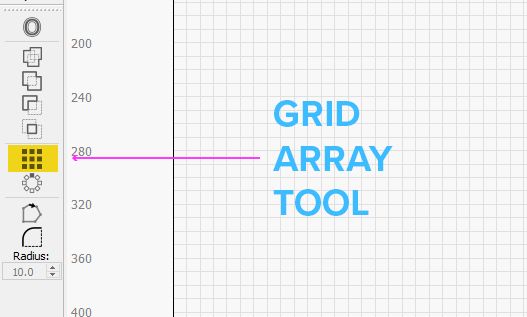
- Access the Array Tool:
On the sidebar, click on the small grid box icon. This opens up the grid array options.
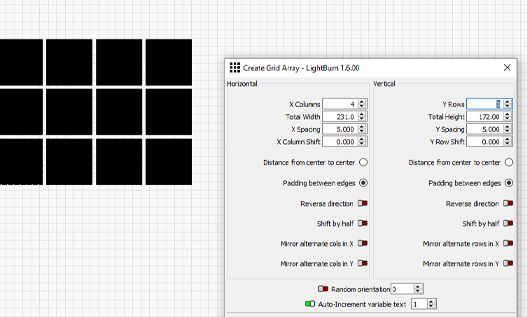
- Setting Up Duplicates:
X Option: This option creates duplicates horizontally, from left to right. Adjust the number of duplicates by using the up and down arrows or directly entering the desired number.
Y Option: The Y option does the same thing but vertically. Adjust the number of duplicates just like you did with the X option. - Optimize Material Usage: Adjust the spacing between each copy, both horizontally and vertically, to get the most out of your material. This visual representation helps you fit as many duplicates as possible onto your material, reducing waste.
Final Tips
- Fine-Tune the Spacing: By tweaking the horizontal and vertical spacing, you can tighten up the fitment of your duplicates, making your workflow more efficient.
- Visual Representation: The array tool gives you a clear visual representation of how your duplicates will fit, making adjustments easier and more intuitive.
If you found this helpful, give us a like and follow. For more tips and tutorials, call or click today. Thanks for tuning in, and happy lasering! 🐰

Learn how Rabbit Laser USA combines 3D printing and laser cutting to improve precision, boost efficiency, and innovate custom fabrication solutions.

Discover the art of crafting beautiful wood inlays with precision laser cutting in our step-by-step guide. Learn essential tips for preparing and testing materials like Baltic birch plywood and cherry wood veneer, ensuring flawless results in your projects. This tutorial covers everything from selecting the right wood and masking techniques to detailed engraving and cutting processes. Perfect for DIY enthusiasts and crafters looking to enhance their skills with laser technology!

Learn how to master job origins in LightBurn with this essential guide. Discover when to use Absolute Coordinates, User Origin, and Current Position to improve precision, efficiency, and material usage in your laser cutting and engraving projects. Plus, get quick tips to streamline your workflow and avoid common mistakes.

Discover why RuiDa controllers are the industry standard for laser engraving and laser cutting machines. Learn how they outperform proprietary controllers, offer seamless LightBurn compatibility, and provide unmatched precision. At Rabbit Laser USA, we’ve been upgrading customers' machines with RuiDa to give them full control over their laser cutter and engraver. Upgrade your laser machine today!
Create a vibrant, layered cardinal with this beginner-friendly laser cutting guide. Learn color separation, painting tips, and assembly tricks for eye-catching décor.
Empower your classroom with Rabbit Laser USA’s reliable laser systems—minimize downtime, save with educator discounts, and spark student creativity!

Discover the importance of selecting the right focal length for your CO2 laser machine with Rabbit Laser USA. Learn about different lenses, their optimal uses, and maintenance tips to enhance your laser engraving and cutting projects. Ensure precision and safety with our guide to lens choices and care.
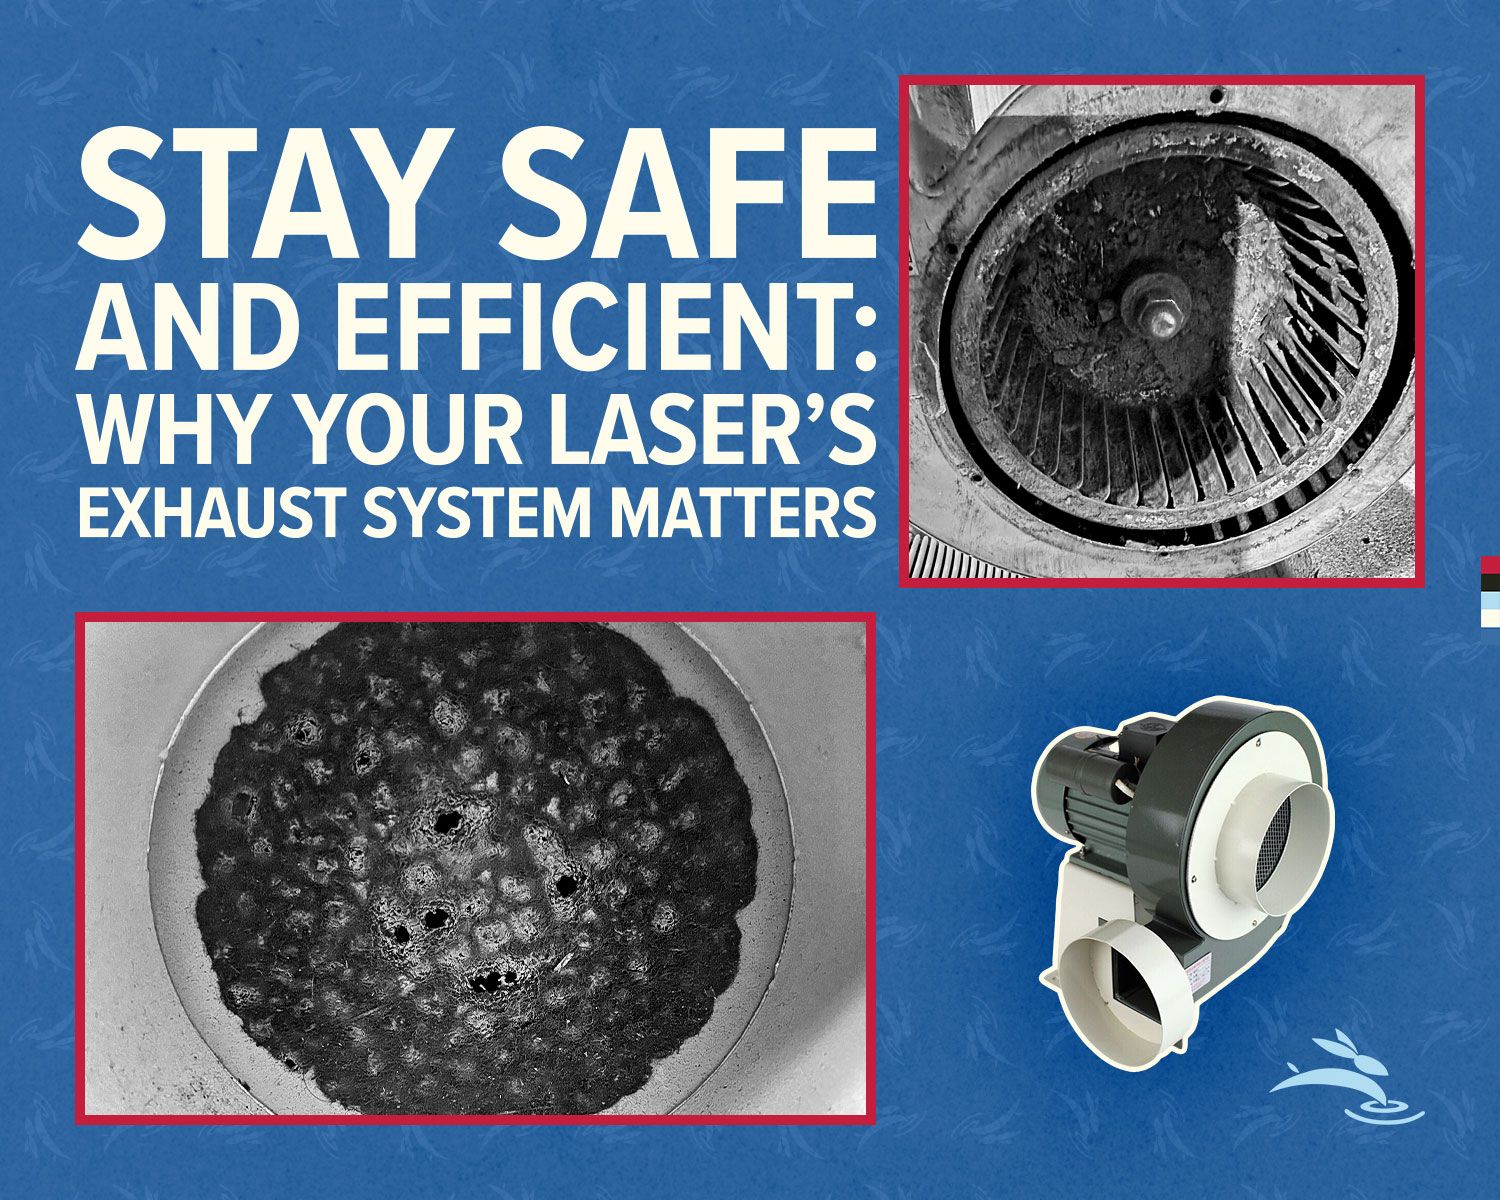
Learn why maintaining your laser’s exhaust system is crucial for safety, health, and top performance. Get monthly maintenance tips, discover which materials are toxic, and see how Rabbit Laser USA’s 550W Vacuum Blower Fan can keep your workspace safe and efficient.
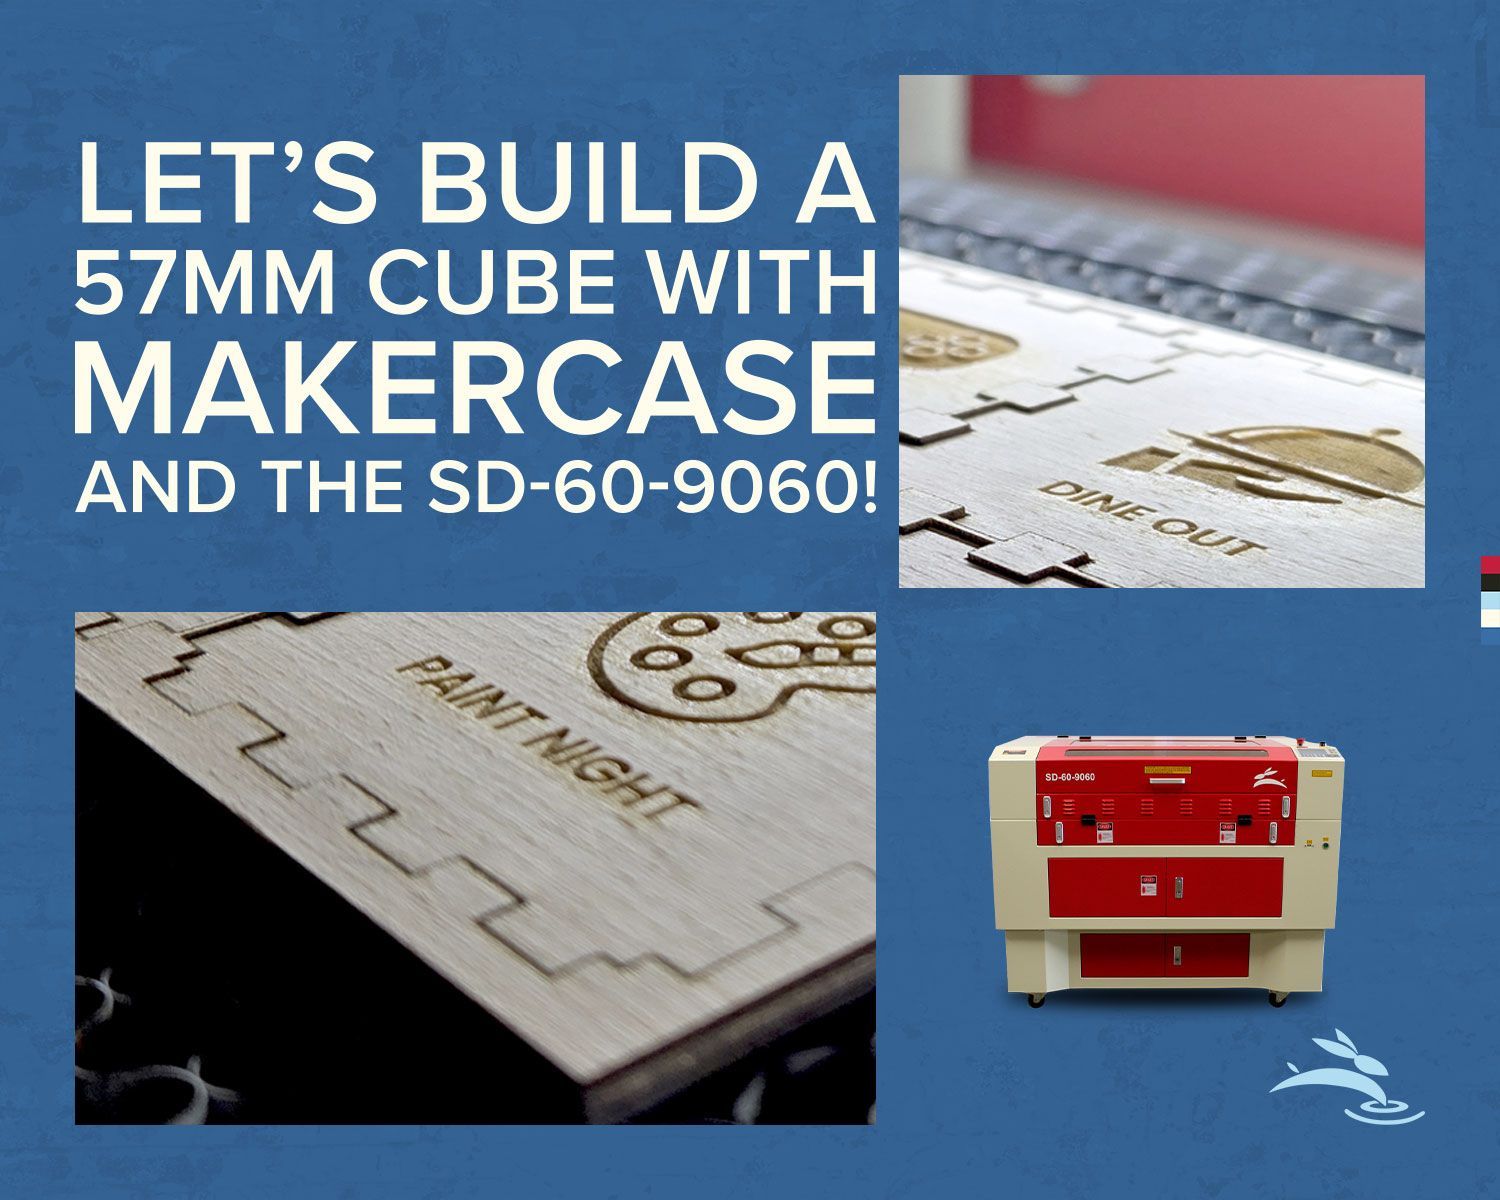
Learn how to design and create a 57mm cube using MakerCase and Rabbit Laser USA's SD-60-9060 CO2 laser cutter. Follow our step-by-step guide featuring precision settings, cutting tips, and assembly techniques for a perfect fit. Perfect for makers, hobbyists, and educational projects!
Minimize downtime with Rabbit Laser USA's in-stock laser machine parts and fast shipping. From lenses to air assist components, we ensure reliable quality and quick delivery. Count on our lifetime customer support to keep your laser engraving and cutting machines running smoothly. Visit us today to stay productive!
Learn how to master air assist for laser engraving and cutting projects. Discover when to use air assist, tips for optimizing performance, real-world applications, and troubleshooting common issues. Achieve cleaner cuts, sharper engravings, and safer results with expert guidance from Rabbit Laser USA.

Learn how to maximize the lifespan of your CO2 laser tube with expert tips on maintenance, cooling systems, optimal settings, and more. Keep your machine running smoothly and efficiently for years.