Crafting Wood Inlays with Laser Precision
Wood inlays have long been admired for their intricate beauty, traditionally crafted by hand with meticulous care. But let's face it, anyone who's ever attempted a handcrafted inlay for the first time probably wished for a magic wand. Enter the modern laser cutter—your new best friend in the workshop, turning complex artistry into a project that's as fun as it is impressive.
What You’ll Need
Materials:
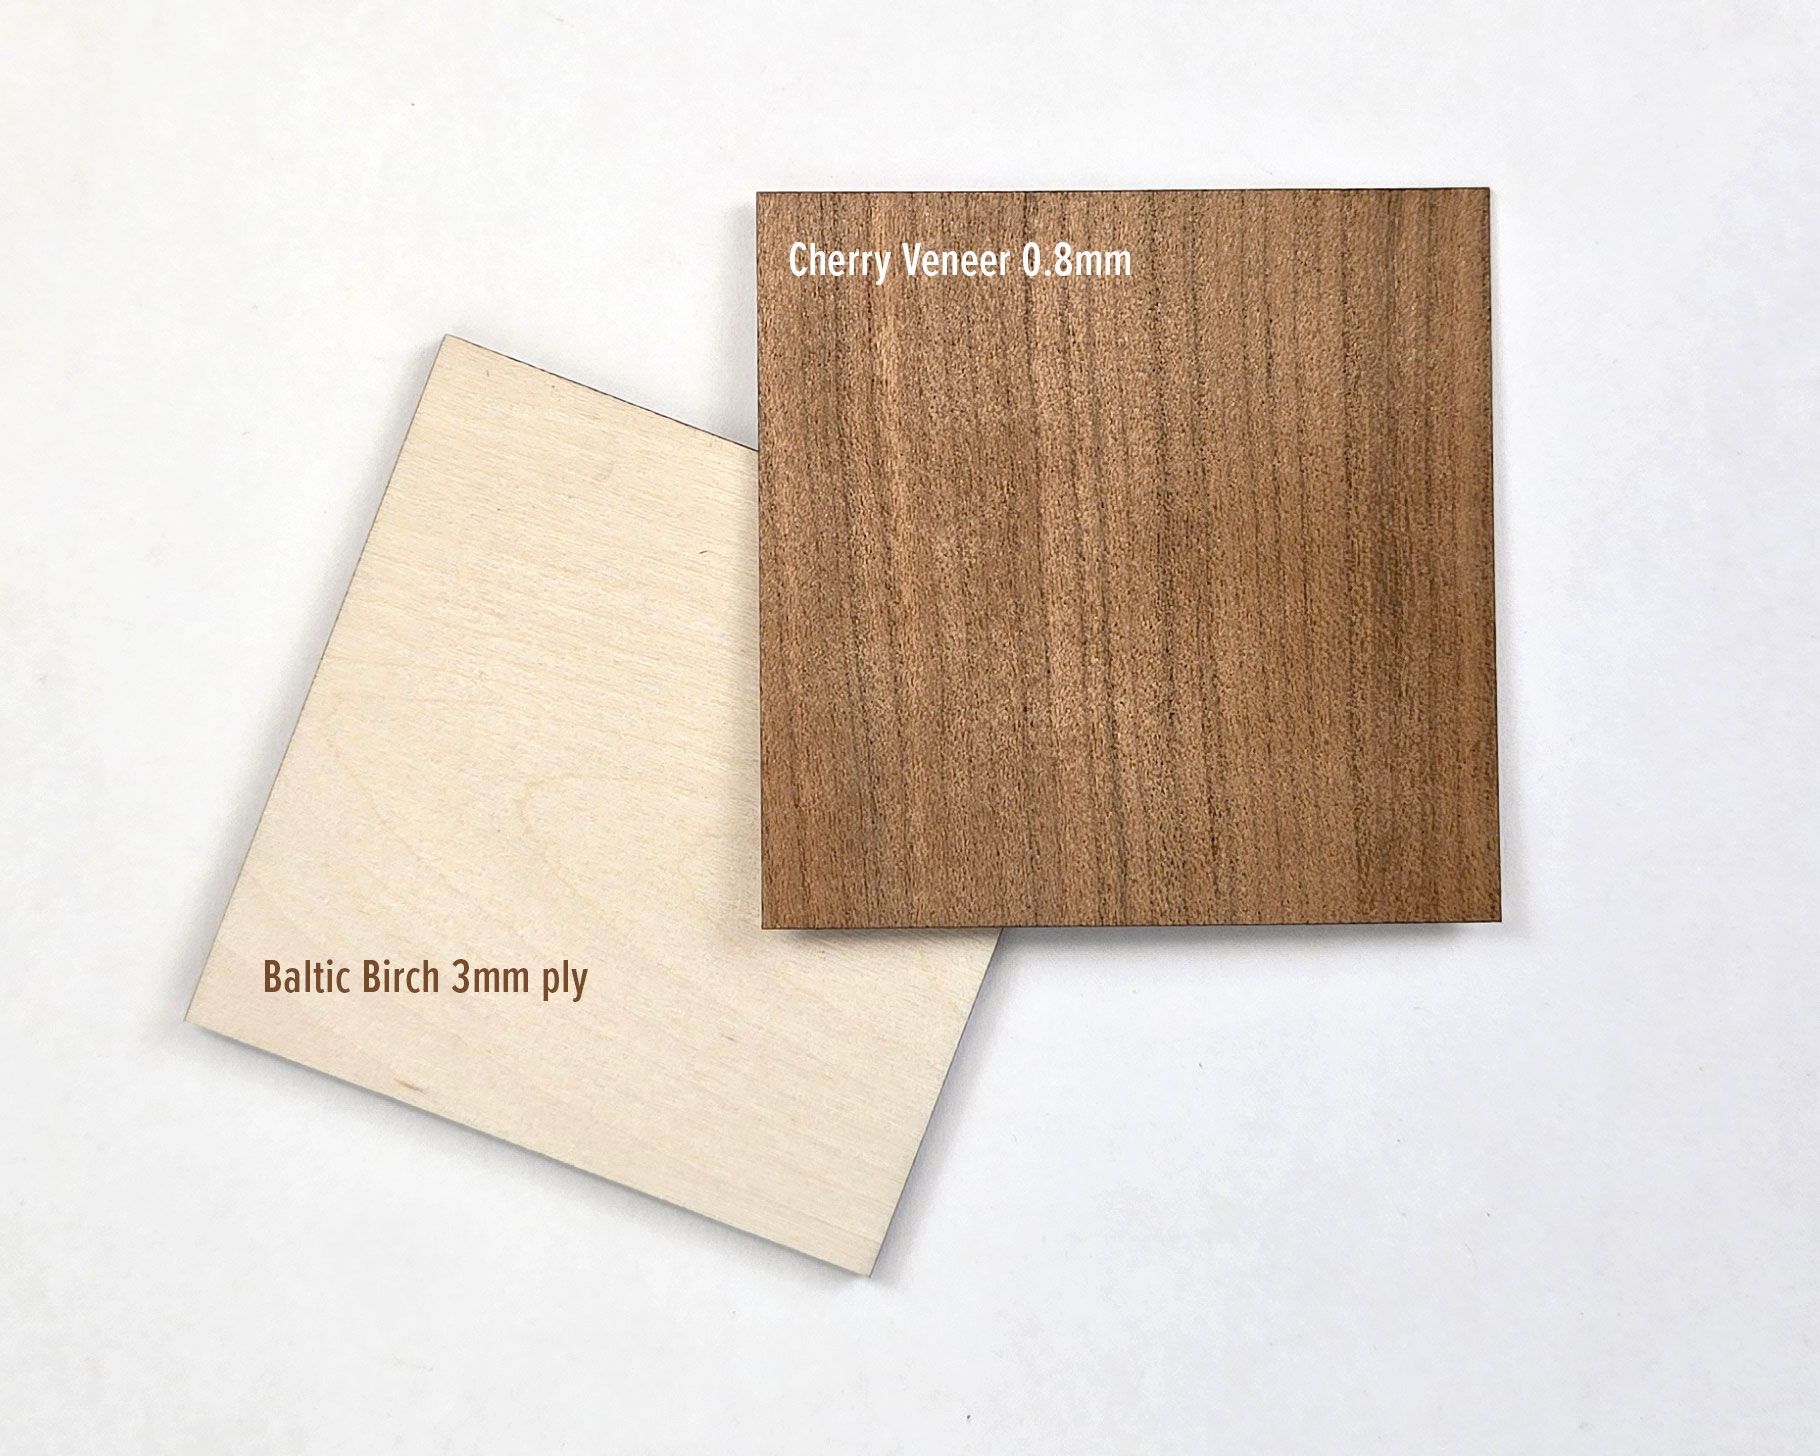
- Wood: Use any suitable wood types based on what’s available to you and the desired visual contrast. For our project, we are using 3mm Baltic birch plywood as the base and cherry wood veneer for the inlay.
- Adhesive: Any wood glue will work, though we recommend using a standard wood glue for its reliability and strength.
- Finish: Select a finish that complements your wood type and enhances its natural beauty. We are applying Golden Pecan stain followed by clear spray polyurethane for a durable, glossy finish.
Tools:
- Laser cutting and engraving machine
- Safety gear for those using open bed machines
- Sanding tools
- Rubber mallet
- Weights or hand clamps
Designing and Testing Your Inlay
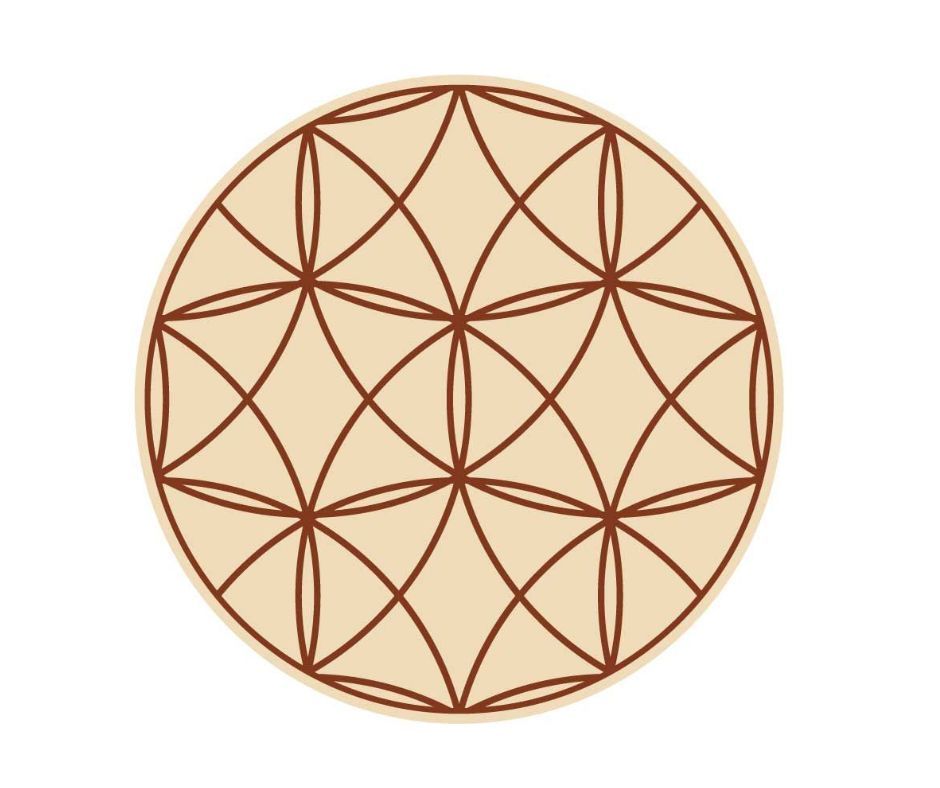
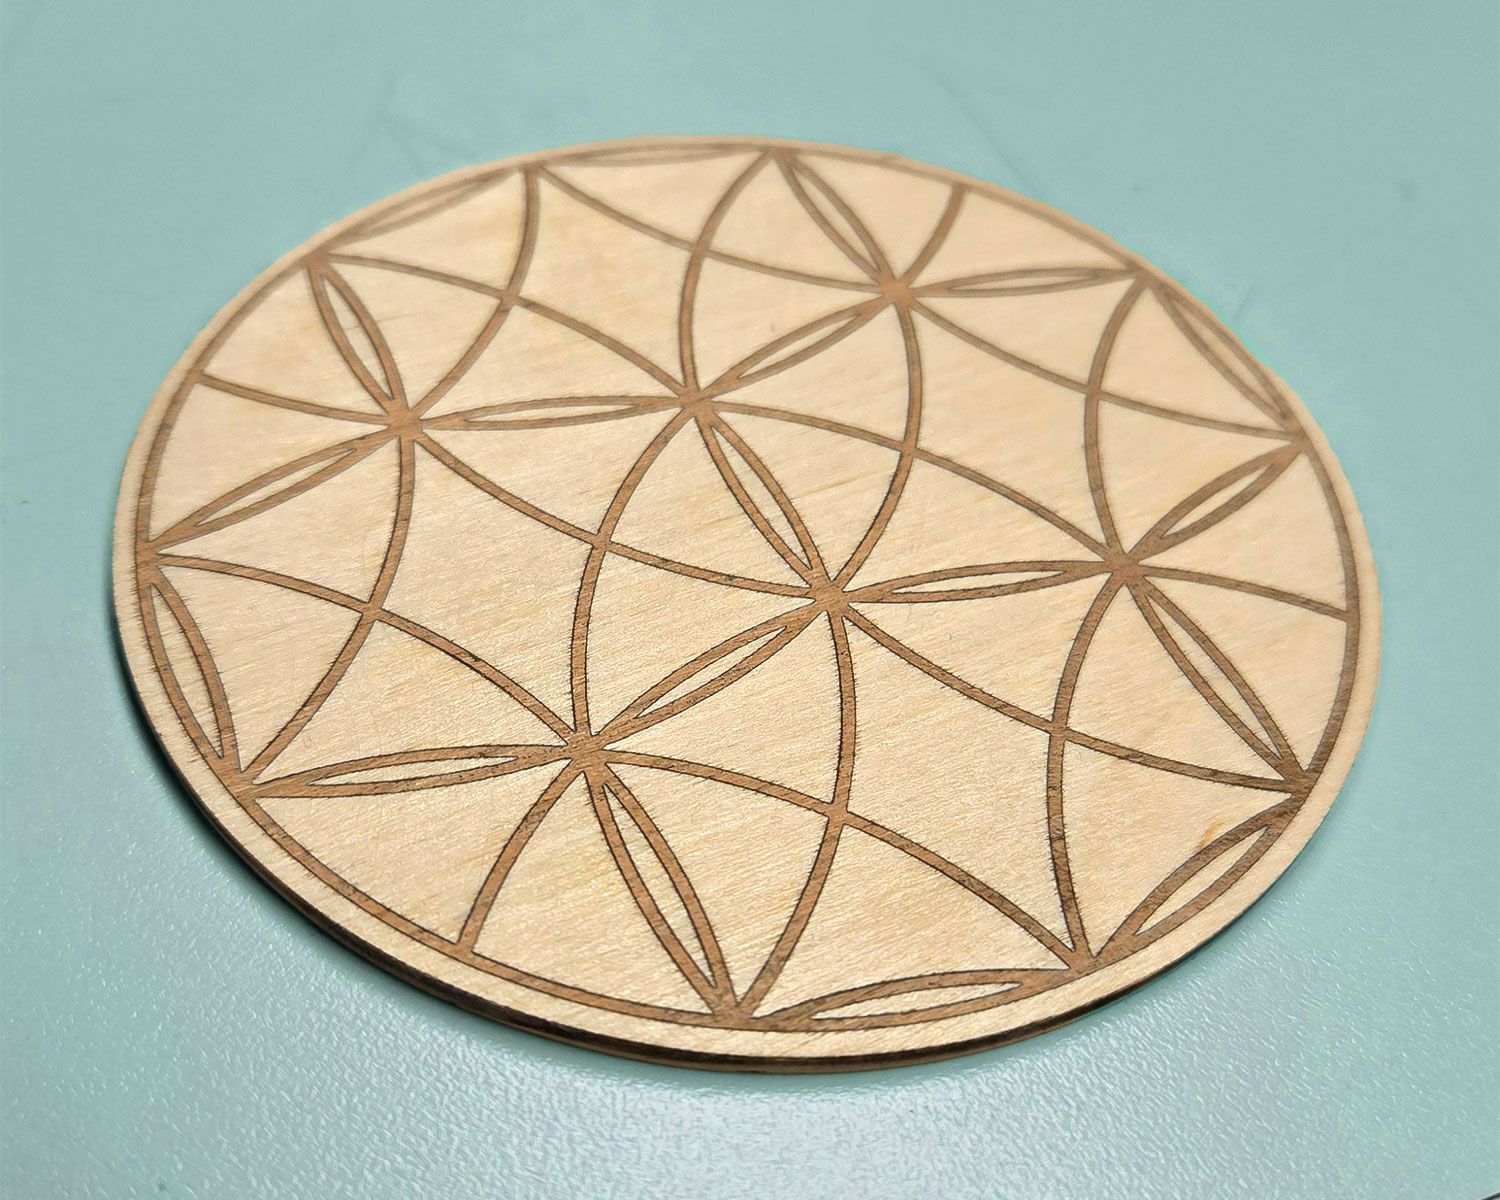
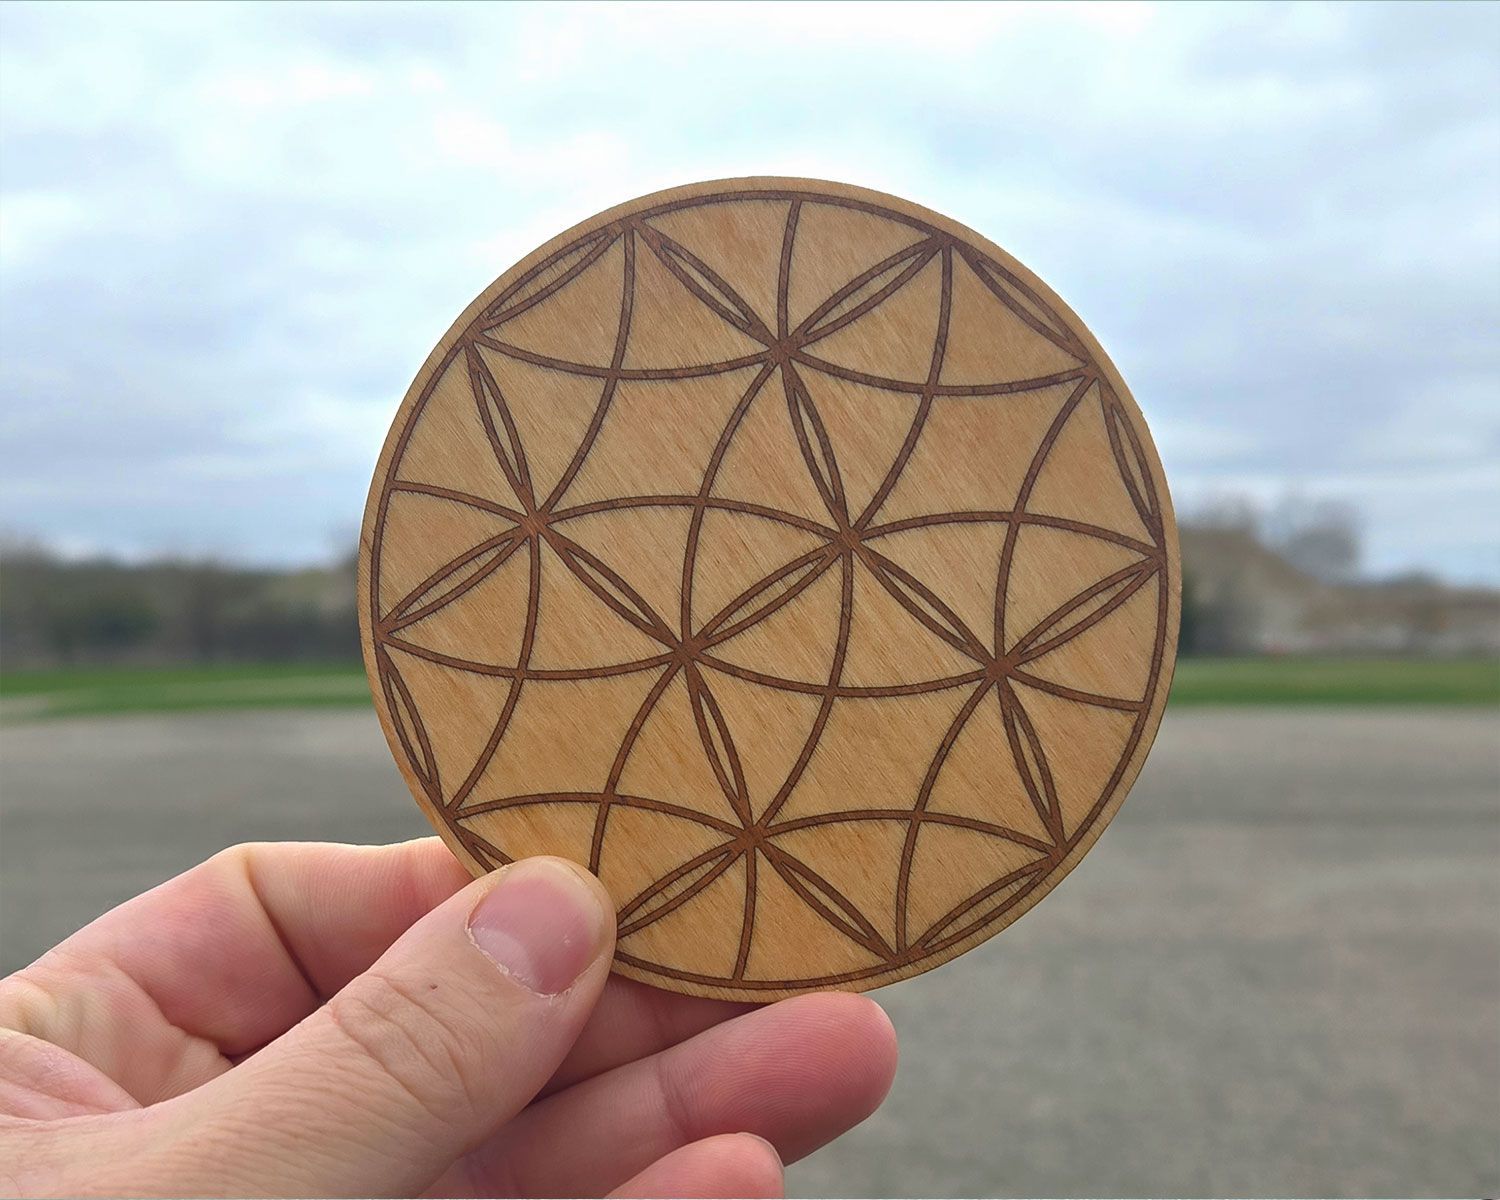
Before diving into your project, pick a design that speaks to you. We’re going with beginner-friendly geometric shapes for our coaster project—simple yet elegant. Once you’ve got your design, it’s time for the crucial step of testing. Every great show needs a dress rehearsal, and your material and engraving testing is just that.
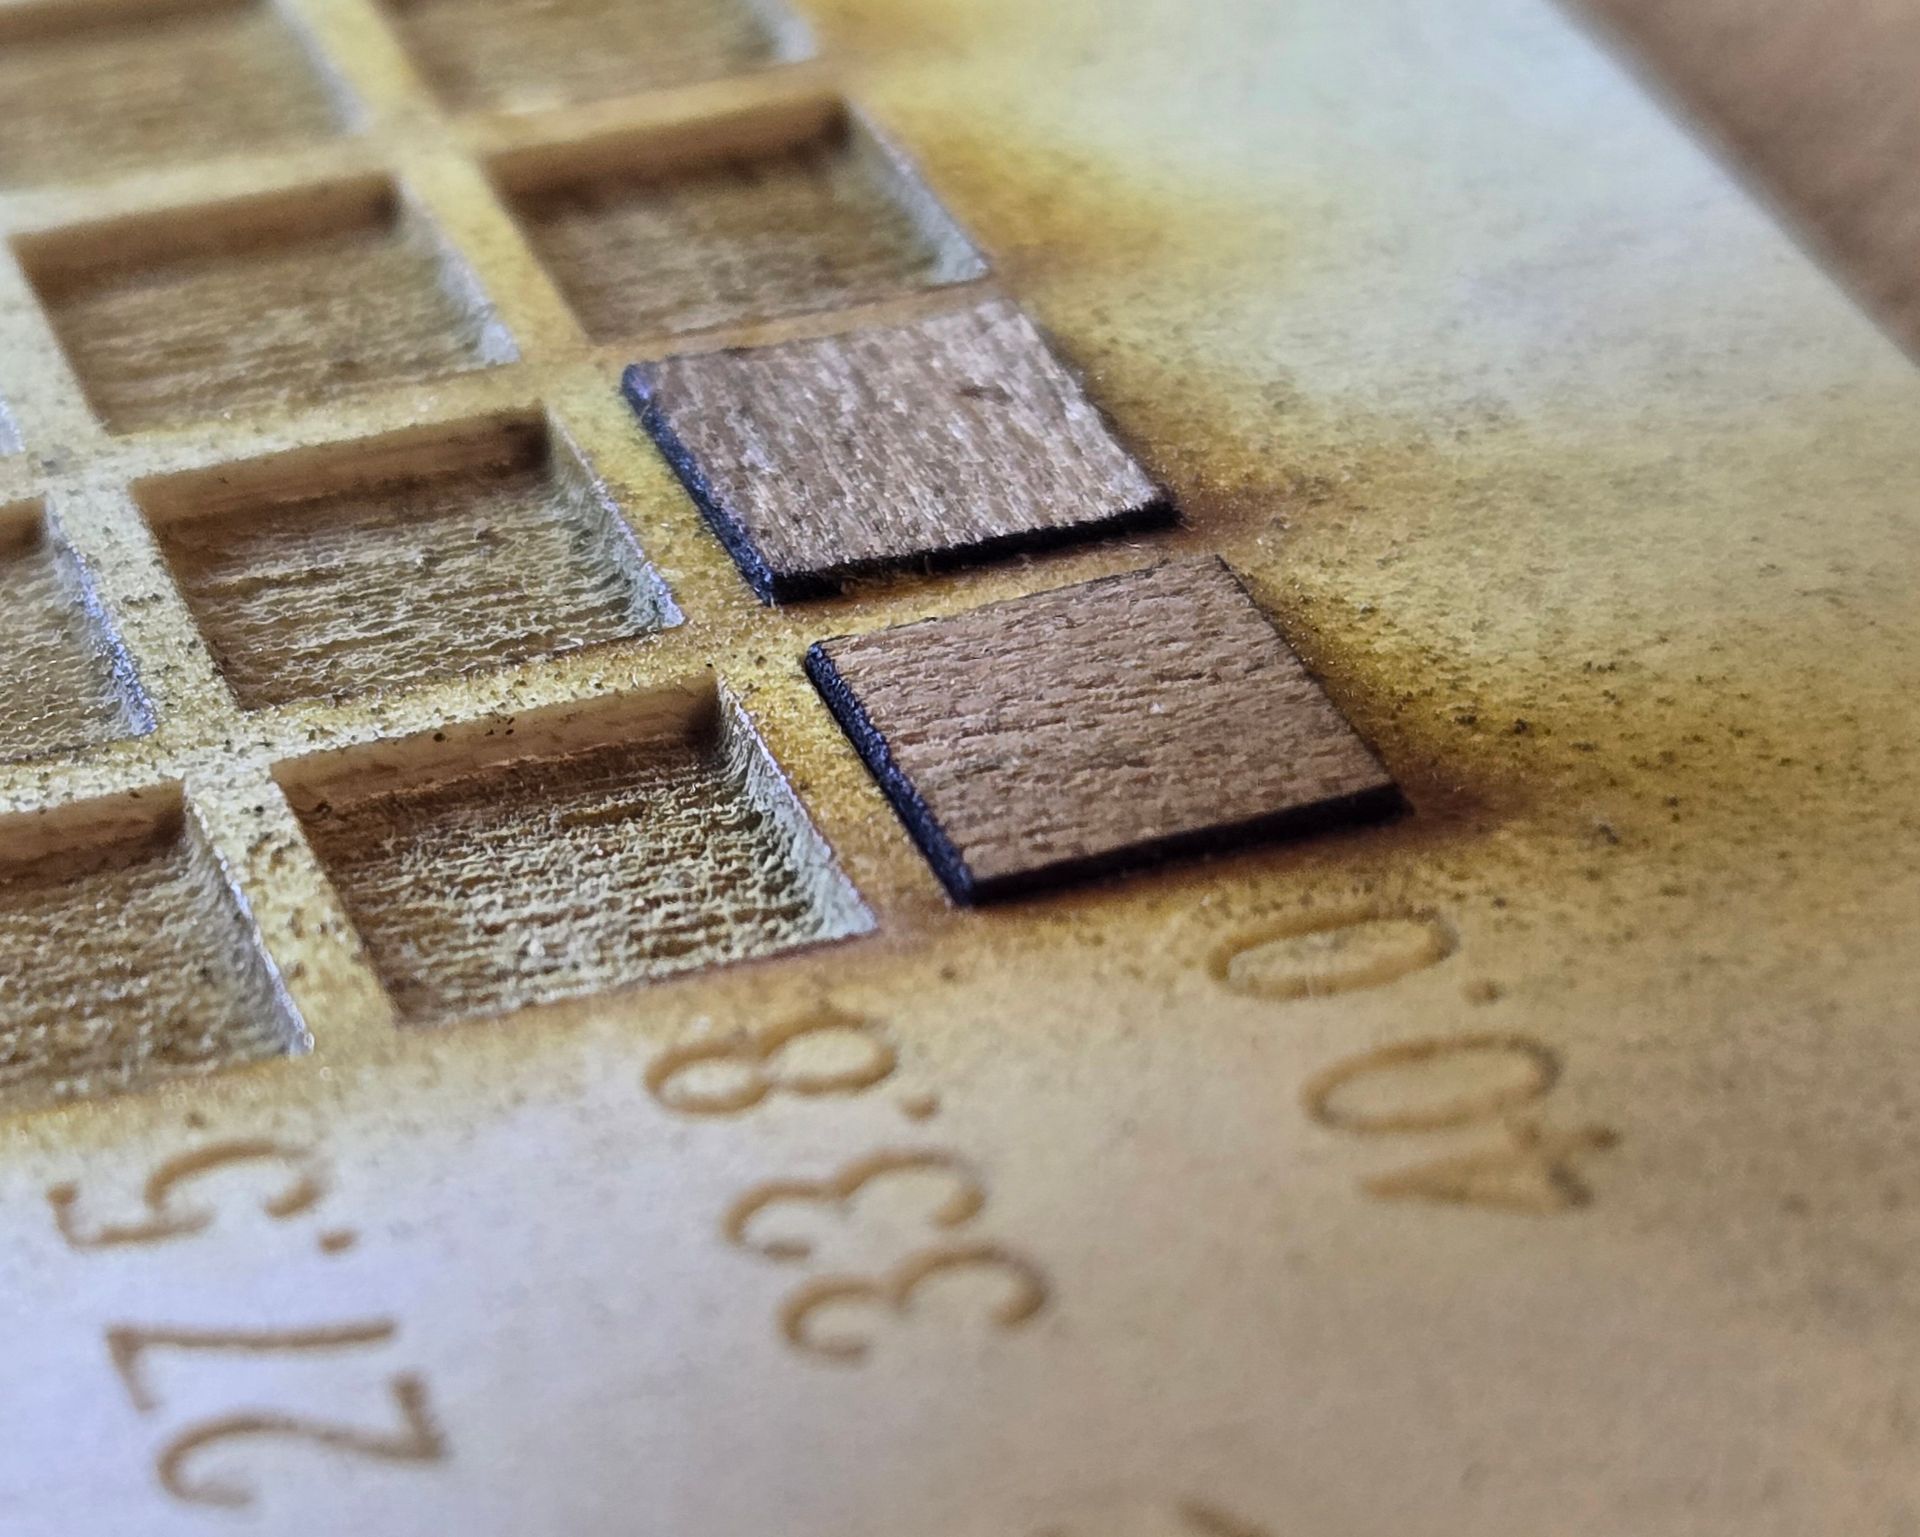
When testing your engraving settings, aim to have the cherry wood veneer protrude slightly above the surface of the Baltic birch base. This slight protrusion ensures that after sanding, the surface will be perfectly flush and smooth. Make sure to perform this test on a sample of your materials to find the exact depth and power settings that achieve this effect.
We’ll delve deeper into measuring and adjusting for kerf in our dedicated guide, "The Rabbit Laser USA Way: Measuring Kerf Size Made Simple". This guide will provide you with all the tips and tricks you need to get precise cuts every time.
The Laser Cutting and Engraving Process
Safety first! Remember, our machines are class 1 lasers, so no personal protective equipment is needed for most users. However, if you’re working with an open bed laser, make sure to wear appropriate eyewear to avoid any stray beams.
When working with your base material, in this case, Baltic birch, it’s important to engrave before you cut. This ensures the surface remains level throughout the engraving process. Cutting the material first can cause the pieces to drop slightly, creating an uneven surface that may affect the quality of the engraving.
Every material is unique, and so are the settings required for optimal cutting and engraving. That's why conducting a materials settings test is crucial. This test helps you determine the perfect power, speed, and focus settings for your specific materials, ensuring precise and clean cuts. Always test these settings on a sample piece of your material before proceeding with the final project.
Assembling the Inlay
Now it's time to piece everything together. Apply a thin layer of wood glue to the cherry wood pieces and fit them snugly into the Baltic birch base. For a perfect fit, gently tap the cherry pieces into place using a rubber mallet. This ensures that each piece seats well without damaging the wood.
To ensure even pressure and a solid bond while the glue dries, place some weights on top of the inlay pieces, or use hand clamps to keep everything tightly secured.
Once the glue has fully dried, begin leveling the surface. Sand down any protruding cherry wood until it's flush with the Baltic birch plywood. Start with 80-grit sandpaper, but be cautious—80-grit can remove material quickly. Check your progress frequently to avoid over-sanding.
Progress to 120-grit sandpaper to refine the surface, smoothing out any roughness left by the 80-grit and preparing the wood for the final finish. Complete the sanding process with 150-grit sandpaper to ensure a professional, silky finish.
Next, apply a liberal amount of Golden Pecan stain to the wood. Let the stain soak in for 5 to 10 minutes to achieve deep, rich coloration, then wipe away any excess. This step enhances the natural beauty of the cherry and Baltic birch woods.
Finally, seal your masterpiece with clear spray polyurethane. Apply the polyurethane in light, even coats to prevent excessive buildup or dripping. Follow the directions specific to your brand of polyurethane for drying times and additional coats, ensuring a smooth and durable finish.

