Mastering Scanning Offset: The Key to Precision Laser Engraving
When it comes to laser engraving, precision is everything. Whether you're working on detailed designs or simple text, the quality of your final product depends heavily on how accurately your laser machine can follow the intended path. One tool that plays a crucial role in achieving this precision is Scanning Offset Adjustment. But what exactly is it, and how can you use it effectively? Let's dive into the details.
What is Scanning Offset Adjustment?
Scanning Offset Adjustment, sometimes known as backlash compensation, is a setting in laser engraving that corrects for the mechanical delay between the laser's position and its firing during fast engraving movements. When your laser head moves at high speeds, especially during raster (line-by-line) engraving, there can be a slight delay in the laser turning on and off at the correct time. This can cause lines or text to appear slightly shifted or blurred, particularly at the edges.
In simple terms, Scanning Offset Adjustment helps to align the laser firing with the position of the laser head, ensuring that your engraving remains sharp and accurate even at high speeds.
Why is Scanning Offset Adjustment Important?
Without proper adjustment, your engravings can suffer from:
- Blurry Edges: The most common issue, where the start or end of each engraved line appears fuzzy.
- Misalignment: Especially noticeable in text, where letters may not line up perfectly, causing a "shadow" effect.
- Inconsistent Quality: Depending on the speed and complexity of your design, different parts of the engraving might not match up as intended.
By fine-tuning the Scanning Offset Adjustment, you can eliminate these issues, resulting in cleaner, more professional engravings.
How to Effectively Use Scanning Offset Adjustment for Popular Speeds
To get the best results, you’ll need to adjust the offset settings based on the speed at which your laser head is moving. Here’s a quick guide for some popular speeds used in laser engraving:
- 200 mm/s: At this speed, you might notice minor blurring, especially on smaller details. A typical offset adjustment might range from 0.1 to 0.15 mm. Test with a simple design, like a square or a small block of text, and tweak the offset until the edges are sharp.
- 300 mm/s: As the speed increases, the delay becomes more noticeable. Here, an offset adjustment of around 0.2 to 0.25 mm is often effective. Focus on fine details like small fonts or intricate patterns to determine the best setting.
- 500 mm/s: This is where offset adjustment becomes crucial. At this speed, the delay can significantly impact your engraving. Adjusting the offset to about 0.3 to 0.35 mm should compensate for most of the delay, ensuring crisp lines and well-aligned text.
Real-World Example: Perfecting a Custom-Engraved Tumbler
Let's say you're working on a custom engraving project for a client who wants a set of personalized tumblers as gifts for their employees. The design includes intricate patterns, their company logo, and each employee's name engraved on the side of the tumbler. The catch? The client needs these done quickly, and you’ve got a tight deadline.
You decide to use your Rabbit Laser USA SD-40-6040 CO2 laser machine, setting the engraving speed to 300 mm/s to speed up the process. You start the first tumbler, and after it finishes, you notice something’s not quite right. The text looks a little blurry, and the intricate pattern isn’t as sharp as it should be. You know this isn’t the quality your client expects.
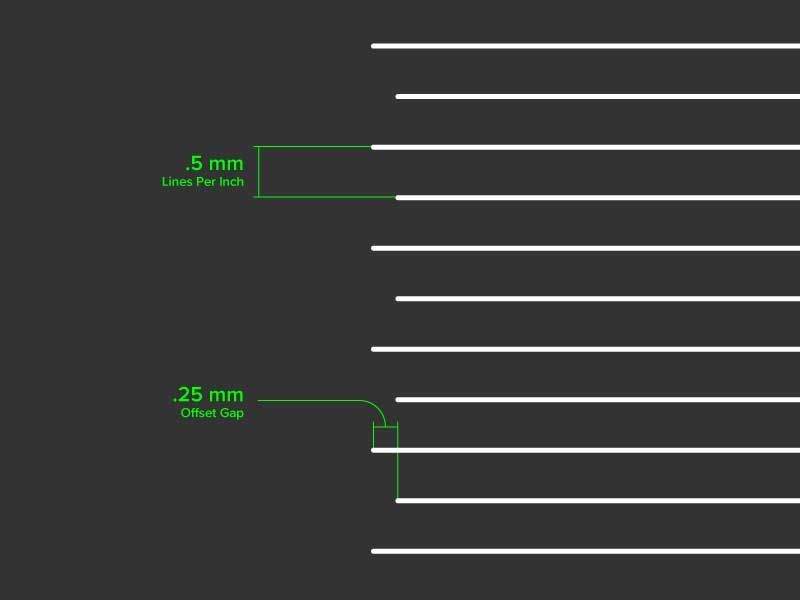
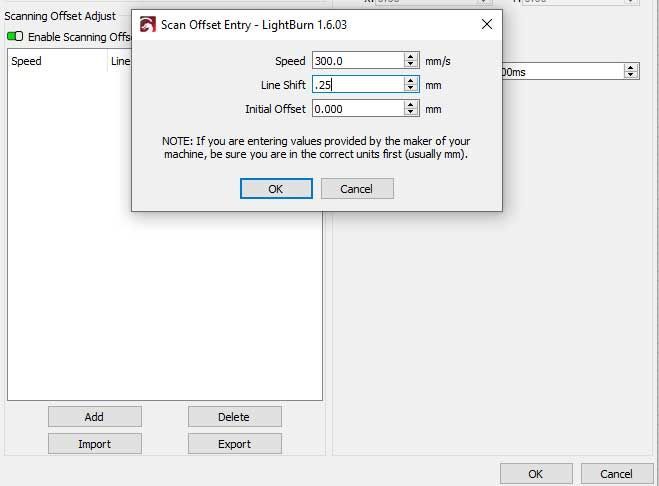
This is where Scanning Offset Adjustment comes into play. You realize that the high speed is causing a slight delay between the laser head movement and the laser firing. To fix this, you head into LightBurn, where you set up a quick test using a simple square design at the same speed. By adjusting the Scanning Offset to 0.2 mm and setting the line interval to 0.5 mm, you start to see improvement. The lines are becoming sharper, and the pattern starts to pop.
You make another small adjustment, this time increasing the offset by 0.05 mm, and voila! The text is now crisp, the logo is sharp, and the entire design looks professional. You’ve not only saved the project but also ensured that your client will be thrilled with the results.
With your Scanning Offset Adjustment dialed in, you quickly finish the rest of the tumblers, each one coming out perfectly. You deliver the order on time, and the client is so impressed with the quality and speed that they’re already talking about more projects in the future.
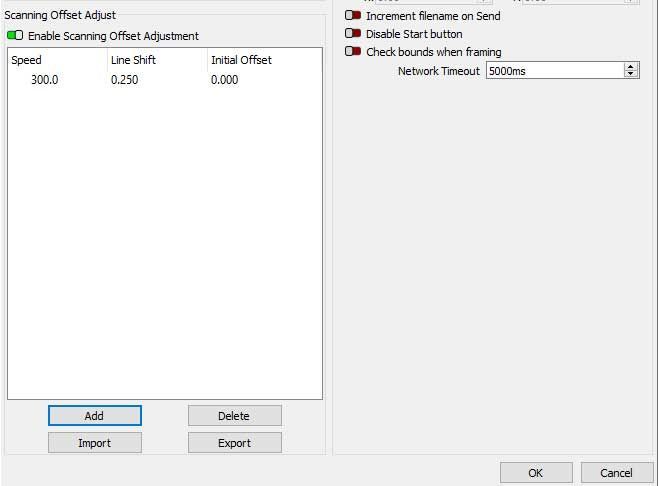
Step-by-Step Process to Find Scanning Offset Adjustment in LightBurn
If you're using LightBurn software, adjusting the Scanning Offset is a straightforward process. Here's how you can do it:
- Open LightBurn: Start by launching the LightBurn software and loading the design you want to engrave.
- Set the Desired Speed: Before adjusting the offset, ensure you've set the engraving speed in the ‘Cut Settings Editor’ for the layer you’re working on. Remember, the offset adjustment will only be effective at this specific speed.
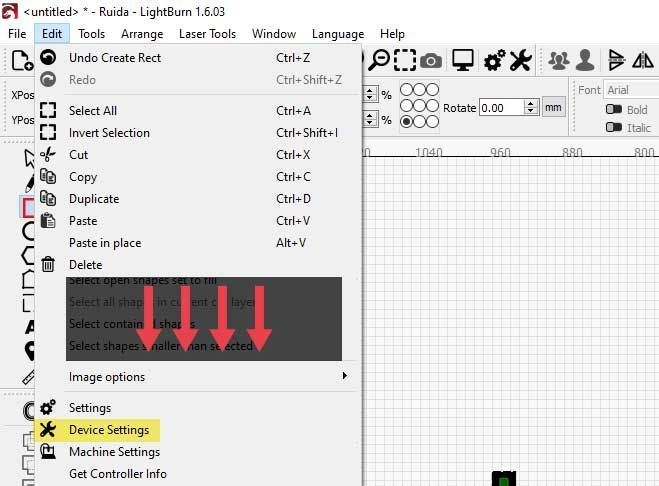
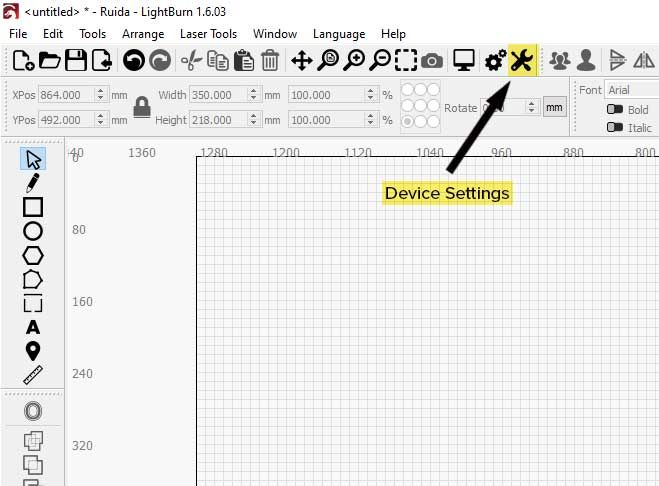
- Access Scanning Offset Settings: Click on the ‘Edit’ menu at the top of the screen, then select ‘Device Settings.’ In the Device Settings window, look for the ‘Scanning Offset Adjustment’ tab.
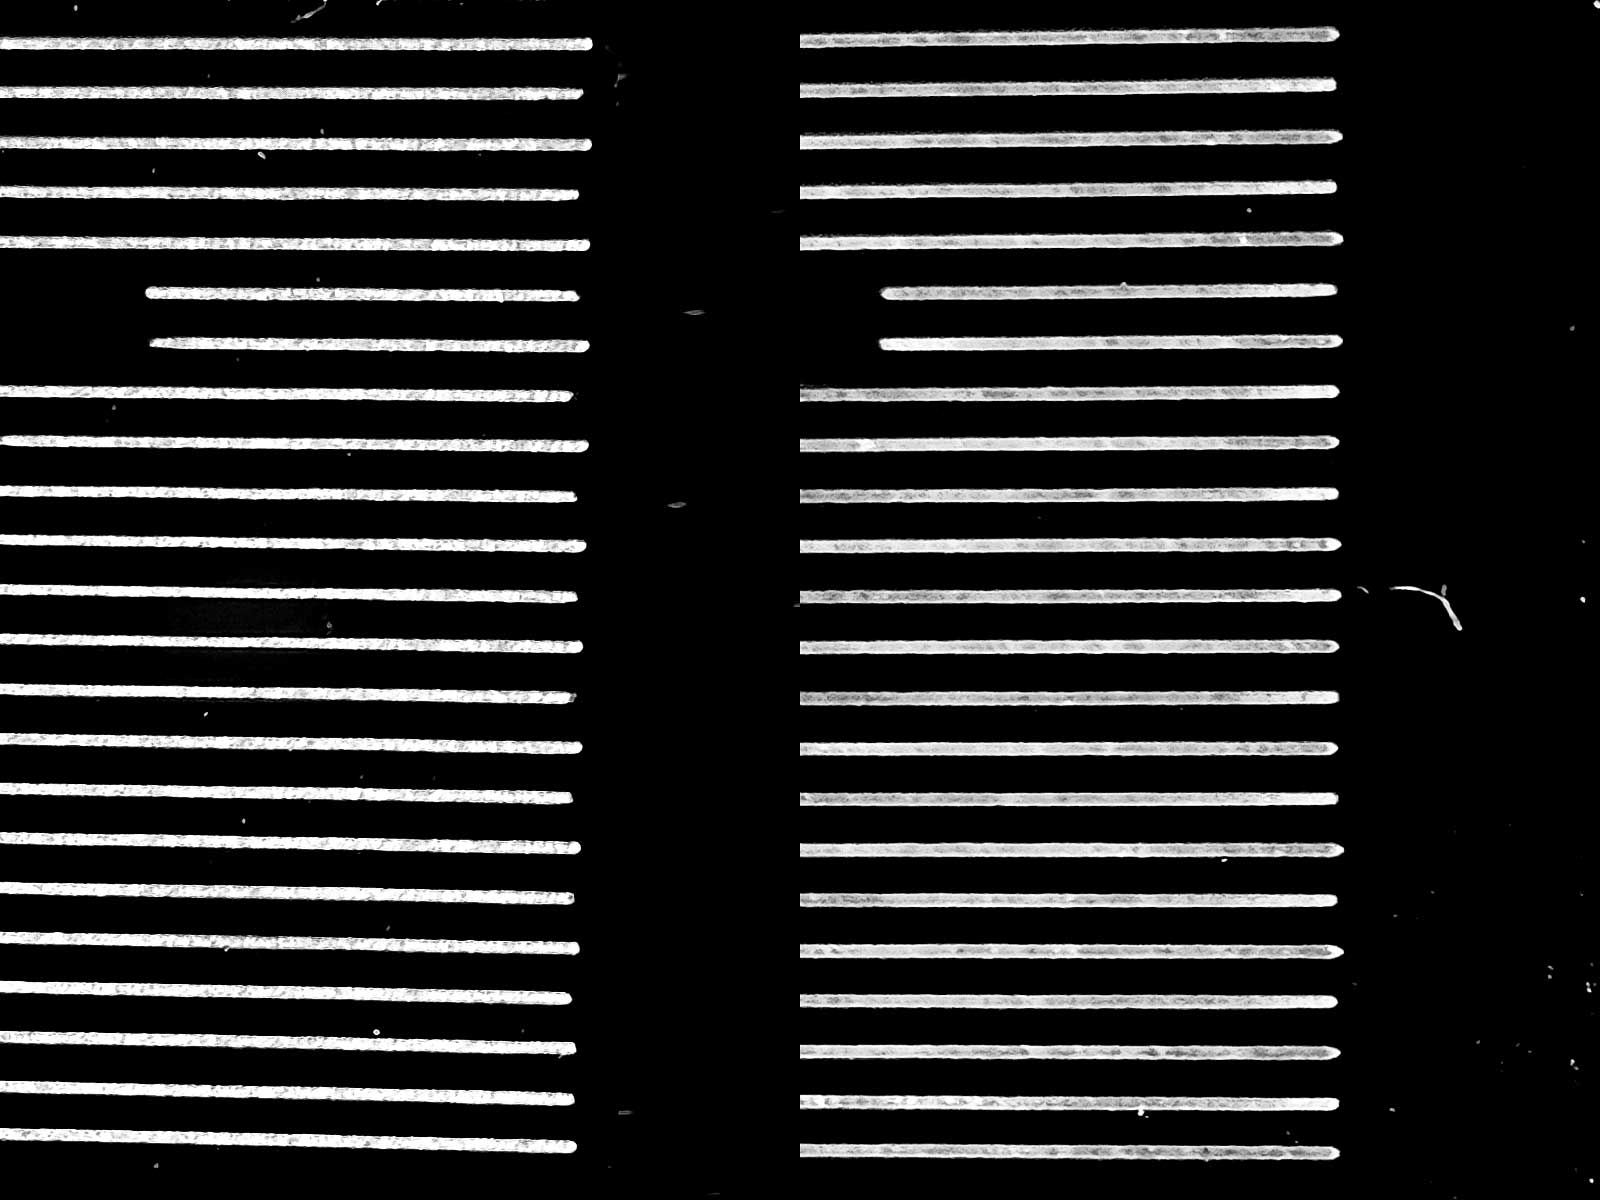
- Use a Line Interval of 0.5 mm: To make the adjustment process easier, set your line interval to 0.5 mm. This setting spaces out the engraved lines enough so you can clearly see each individual line, making it easier to spot any blurring or misalignment.
- Input the Offset Values: In the Scanning Offset Adjustment tab, you'll see options to input offset values based on speed. If you’ve previously tested and determined the necessary offset for your desired speed, enter those values. If not, start with small increments (like 0.1 mm) and test the engraving until you find the ideal setting.
- Test Your Settings: Create a simple test design (like a square or text) and engrave it at your desired speed with the 0.5 mm line interval. Examine the edges to see if they’re sharp. If they’re still blurry, go back and adjust the offset value in 0.05 mm increments until the engraving is sharp and precise.
- Save Your Settings: Once you’ve found the perfect offset value, save it in LightBurn. This way, you won’t have to re-enter the values for future projects at the same speed.
- Run the Final Engraving: Now that your Scanning Offset is dialed in, you can proceed with your actual engraving project, confident that the results will be sharp and precise.
Mastering Scanning Offset Adjustment is essential for anyone serious about laser engraving. It’s a small tweak that makes a huge difference in the quality of your work, particularly when working at higher speeds. By understanding how to adjust this setting for different speeds and using tools like LightBurn effectively, you can ensure that every project you complete is precise and professional.
At Rabbit Laser USA, we’re committed to helping you achieve the best possible results with your laser engraving projects. Our machines are designed with precision in mind, and with features like easy-to-use Scanning Offset Adjustment, you’ll have the tools you need to produce top-notch work every time.
Ready to take your engraving to the next level? Explore our range of
laser machines and find the perfect match for your needs. Visit
Rabbit Laser USA today and discover the difference that precision makes. 🐰