Transform Your Projects: Must-Know Material Testing in LightBurn!
Introduction
Setting up a material test in LightBurn software is essential for achieving optimal laser cutting and engraving results. By conducting these tests, users can determine the best settings for different materials, ensuring precision and efficiency.
Why Material Tests are Crucial
Material tests help identify the correct parameters for your laser machine. Each material reacts differently to the laser, and without testing, you might end up with poor quality cuts or engravings. Testing helps in:
- Determining optimal power and speed: Different materials require different power and speed settings.
- Preventing damage: Incorrect settings can damage your material or the laser itself.
- Enhancing quality: Proper settings ensure clean cuts and precise engravings.
Steps to Set Up a Material Test in LightBurn
Step 1: Open LightBurn Software
Begin by launching LightBurn on your computer. Ensure your laser machine is connected and properly configured.
Step 2: Access the Material Test Generator
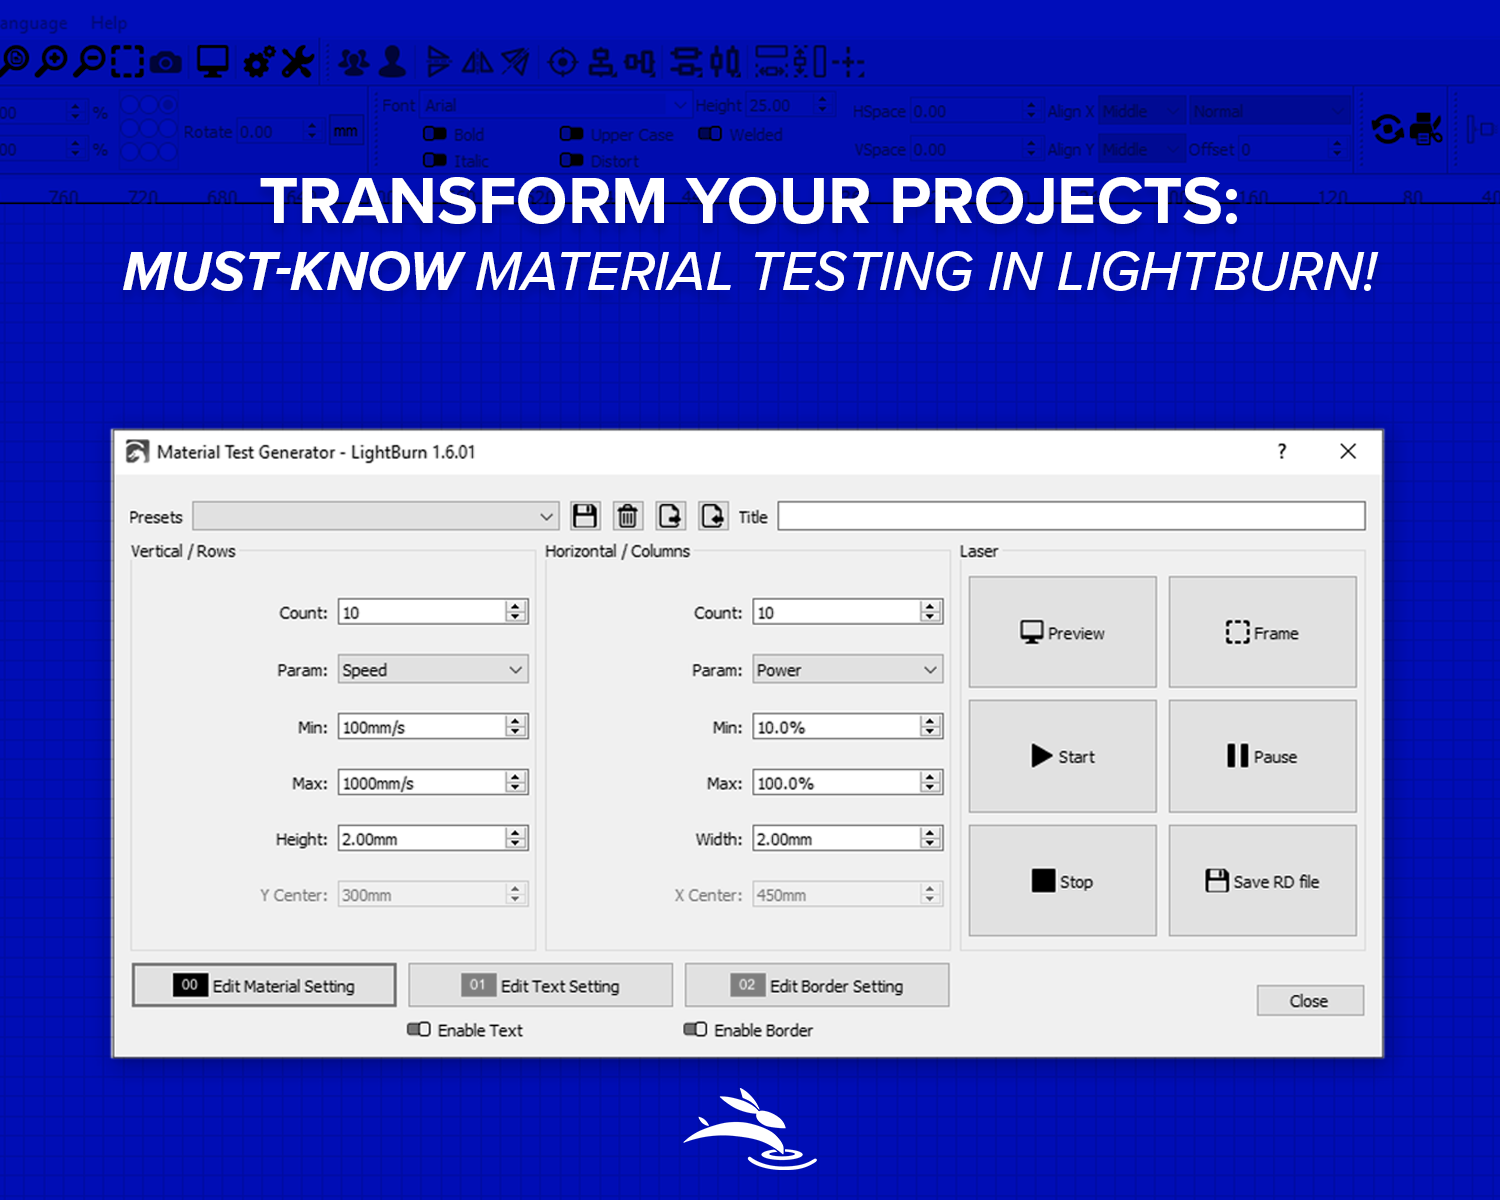
Navigate to the 'Tools' menu and select 'Material Test Generator.' This tool simplifies the process of creating test patterns.
Step 3: Configure Test Parameters
In the Material Test Generator, configure the parameters for your test. This includes:
- Power settings: Specify the range of power levels you want to test.
- Speed settings: Set the range of speed levels to be tested.
- Interval settings: Choose the intervals between different power and speed settings.
Step 4: Generate the Test Pattern
Once you've configured the parameters, generate the test pattern. The Material Test Generator will create a grid with different combinations of power and speed settings.
Step 5: Place Your Material
Place your material on the laser bed. Ensure it is securely fastened to prevent movement during the test.
Step 6: Run the Test
Execute the test pattern on your material. The laser will run through all the combinations of power and speed settings.
Step 7: Analyze the Results
After the test completes, analyze the results to determine the optimal settings for your material.
- Check for precision: Look for clean cuts and sharp engravings.
- Avoid burns and damages: Ensure the material is not burnt or damaged.
- Fine-tune settings: Make any necessary adjustments to further optimize the settings.
Tips for Effective Material Testing
Use a Variety of Materials
Test on different materials you plan to use. Each material will have unique requirements.
Document Your Findings
Keep a log of the settings that work best for each material. This will save time in future projects.
Regular Testing
Conduct regular tests, especially when working with new materials or after maintenance of the laser machine.
Conclusion
Running material tests in LightBurn is a vital step in laser cutting and engraving. It ensures that you achieve the best possible results with each project. By following these steps and tips, you can optimize your workflow and maintain high-quality outputs. 🐰
