
Start by cutting a 10mm square using your CO2 laser machine. Ensure that you use the same settings and material you intend to work with for your actual project. This step is crucial, as different materials can yield slightly different kerf sizes.
The Rabbit Laser USA Way:
Measuring Kerf Size Made Simple
At Rabbit Laser USA, we are committed to precision and excellence in laser technology. Measuring kerf size accurately is essential to ensuring your CO2 laser machine's performance. In this comprehensive guide, we will walk you through the detailed process of measuring kerf size using a 10mm square as an example.
Tools You Need
To begin, you'll need the following tools:
- 10mm Square (cut from machine): This serves as the test subject and should be made from the material you commonly work with, ensuring measurement accuracy.
- Digital Calipers: High-precision digital calipers are ideal for this task, providing measurements to the nearest thousandth of a millimeter.
The Step-by-Step Process
Let's break down the steps to measure your kerf size:
Prepare the Material

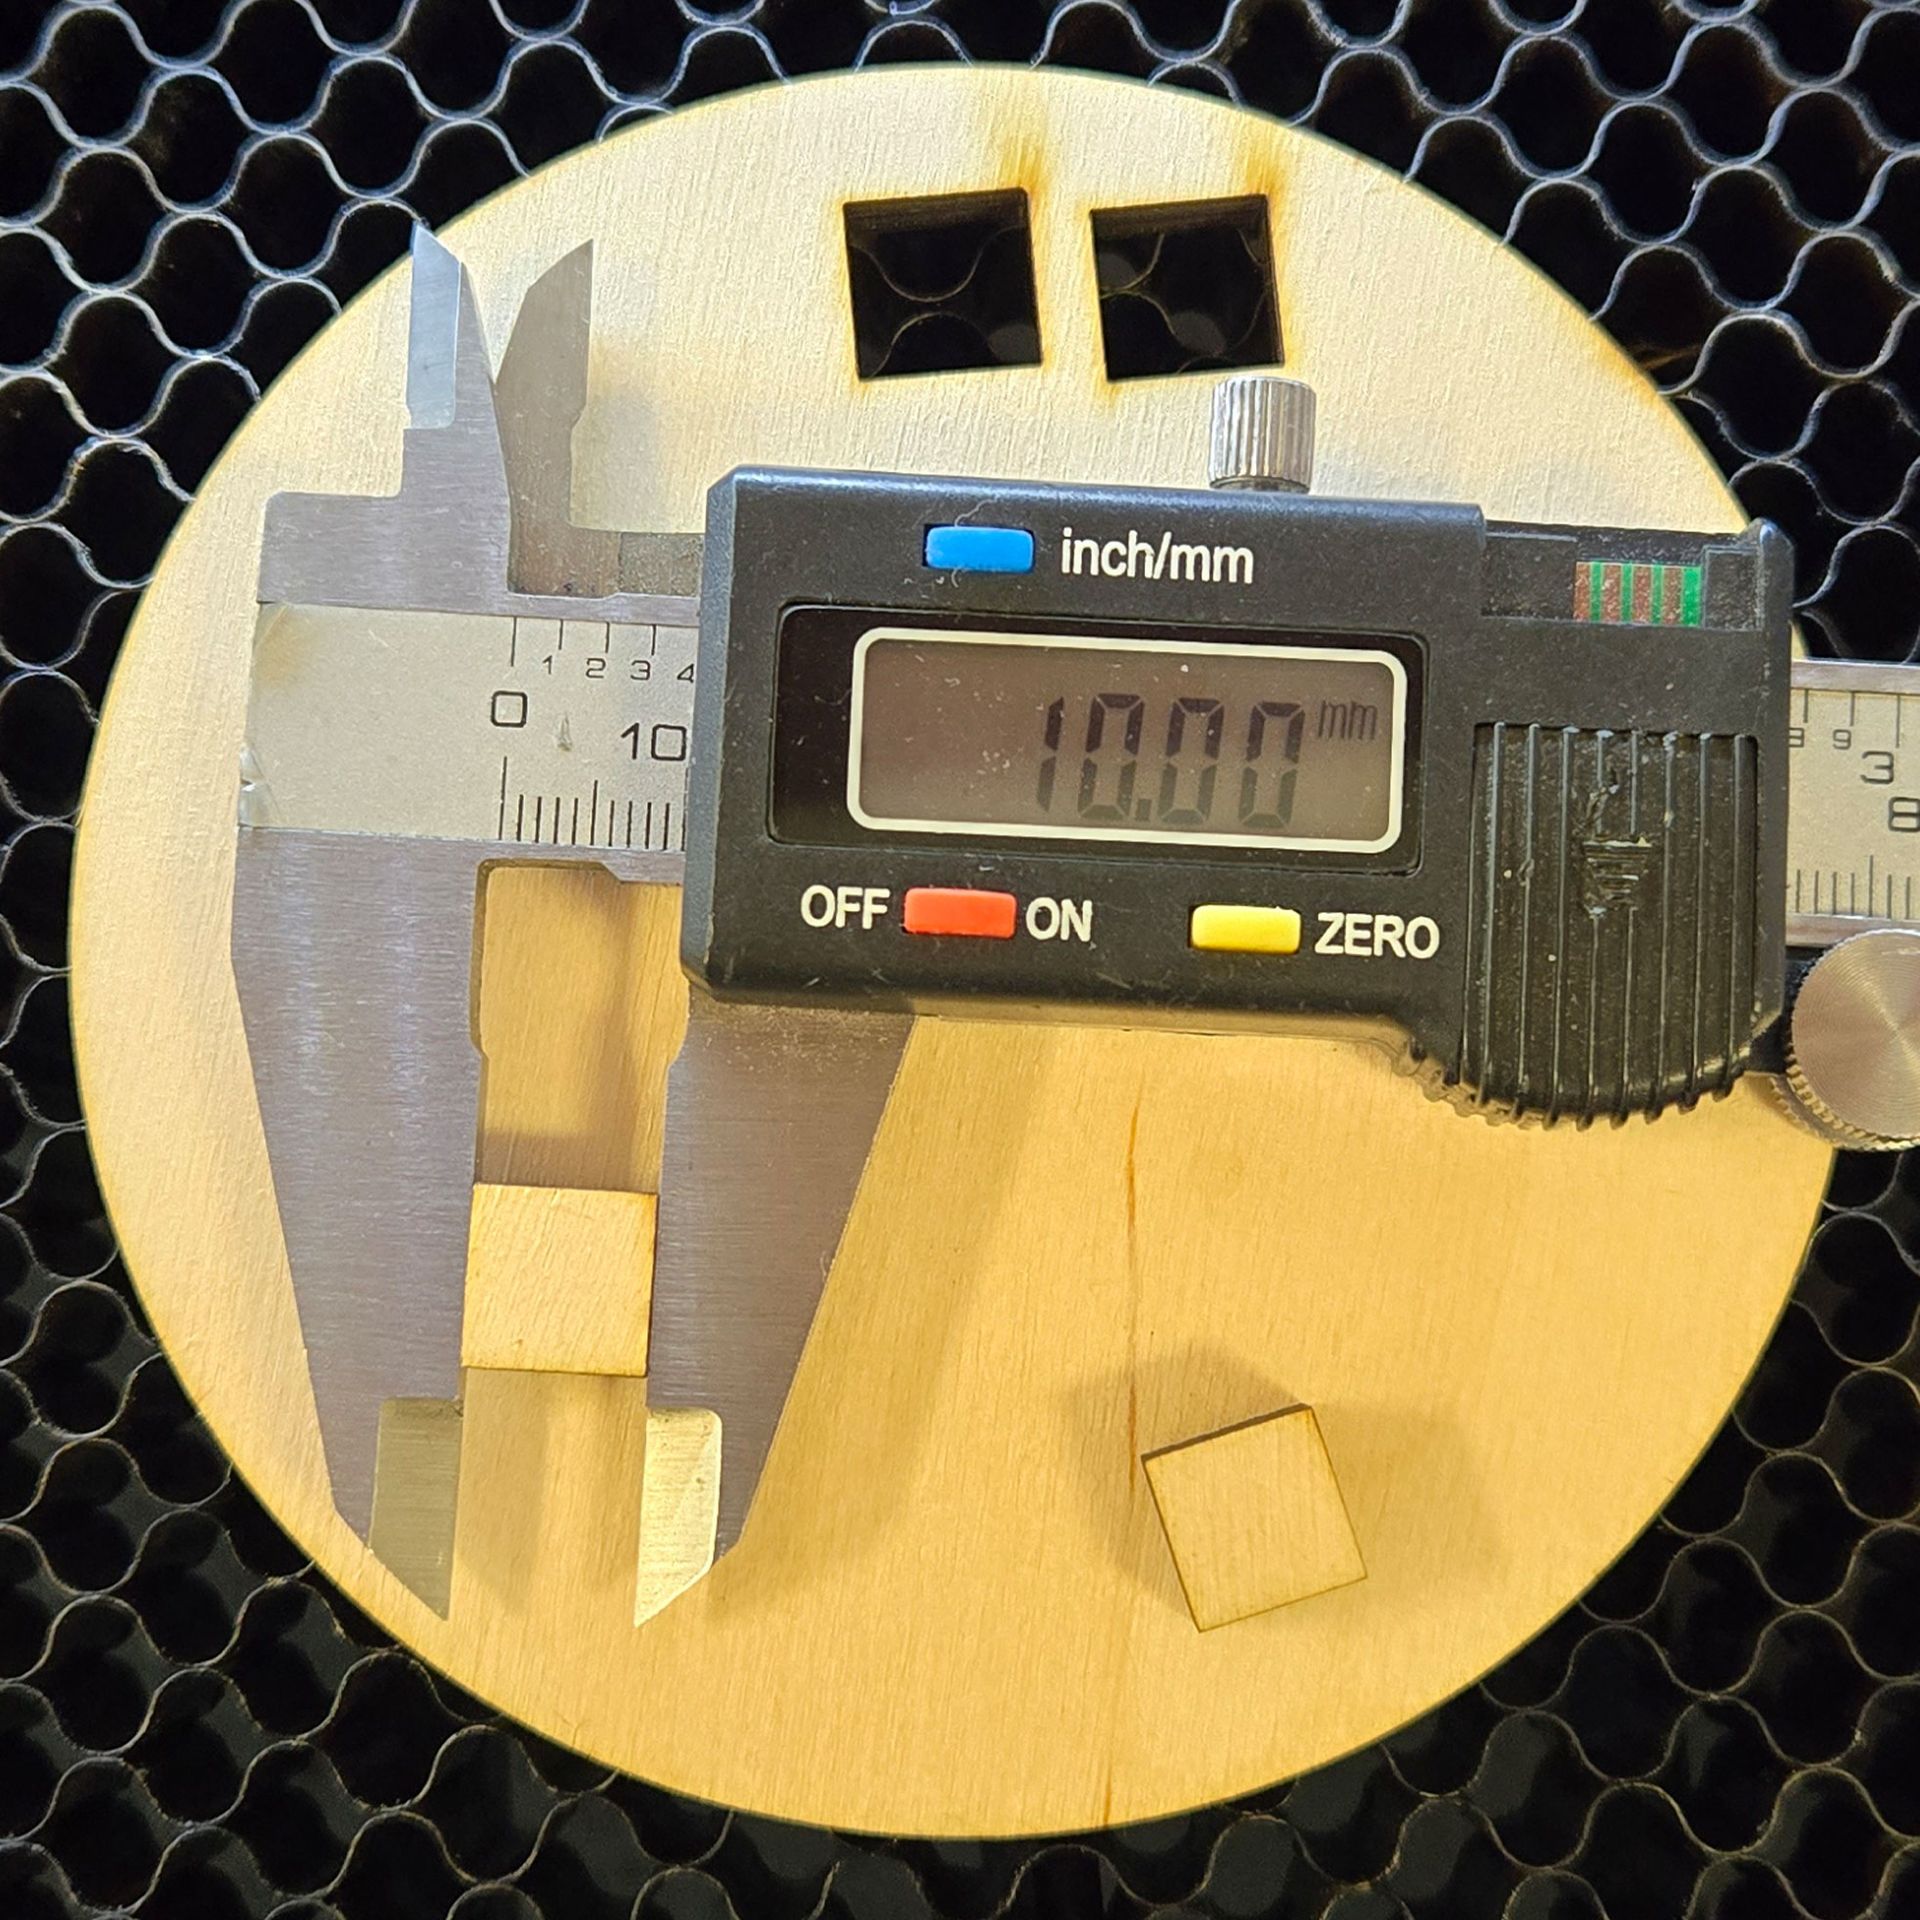
Measure the Square

With your 10mm square ready, take your digital calipers and carefully measure the width of the square. Ensure that you measure from one edge to the other, encompassing the kerf. Take the measurement in millimeters and record it.
Calculate the Kerf Size
To determine the kerf size, subtract the width of the cut material from the original width, then divide by two. For example, if you cut a 10mm square and the width measures 9.65mm after cutting, the calculation is:
Kerf Size = (10mm - 9.65mm) / 2 = 0.175mm
This calculation gives you a kerf size of 0.175mm, which is the width of the material removed by the laser from each side of the cut.
Repeat for Accuracy
For the highest level of precision, it's advisable to repeat this process multiple times and calculate the average kerf size. This will help account for any slight variations that might occur during the laser cutting process.
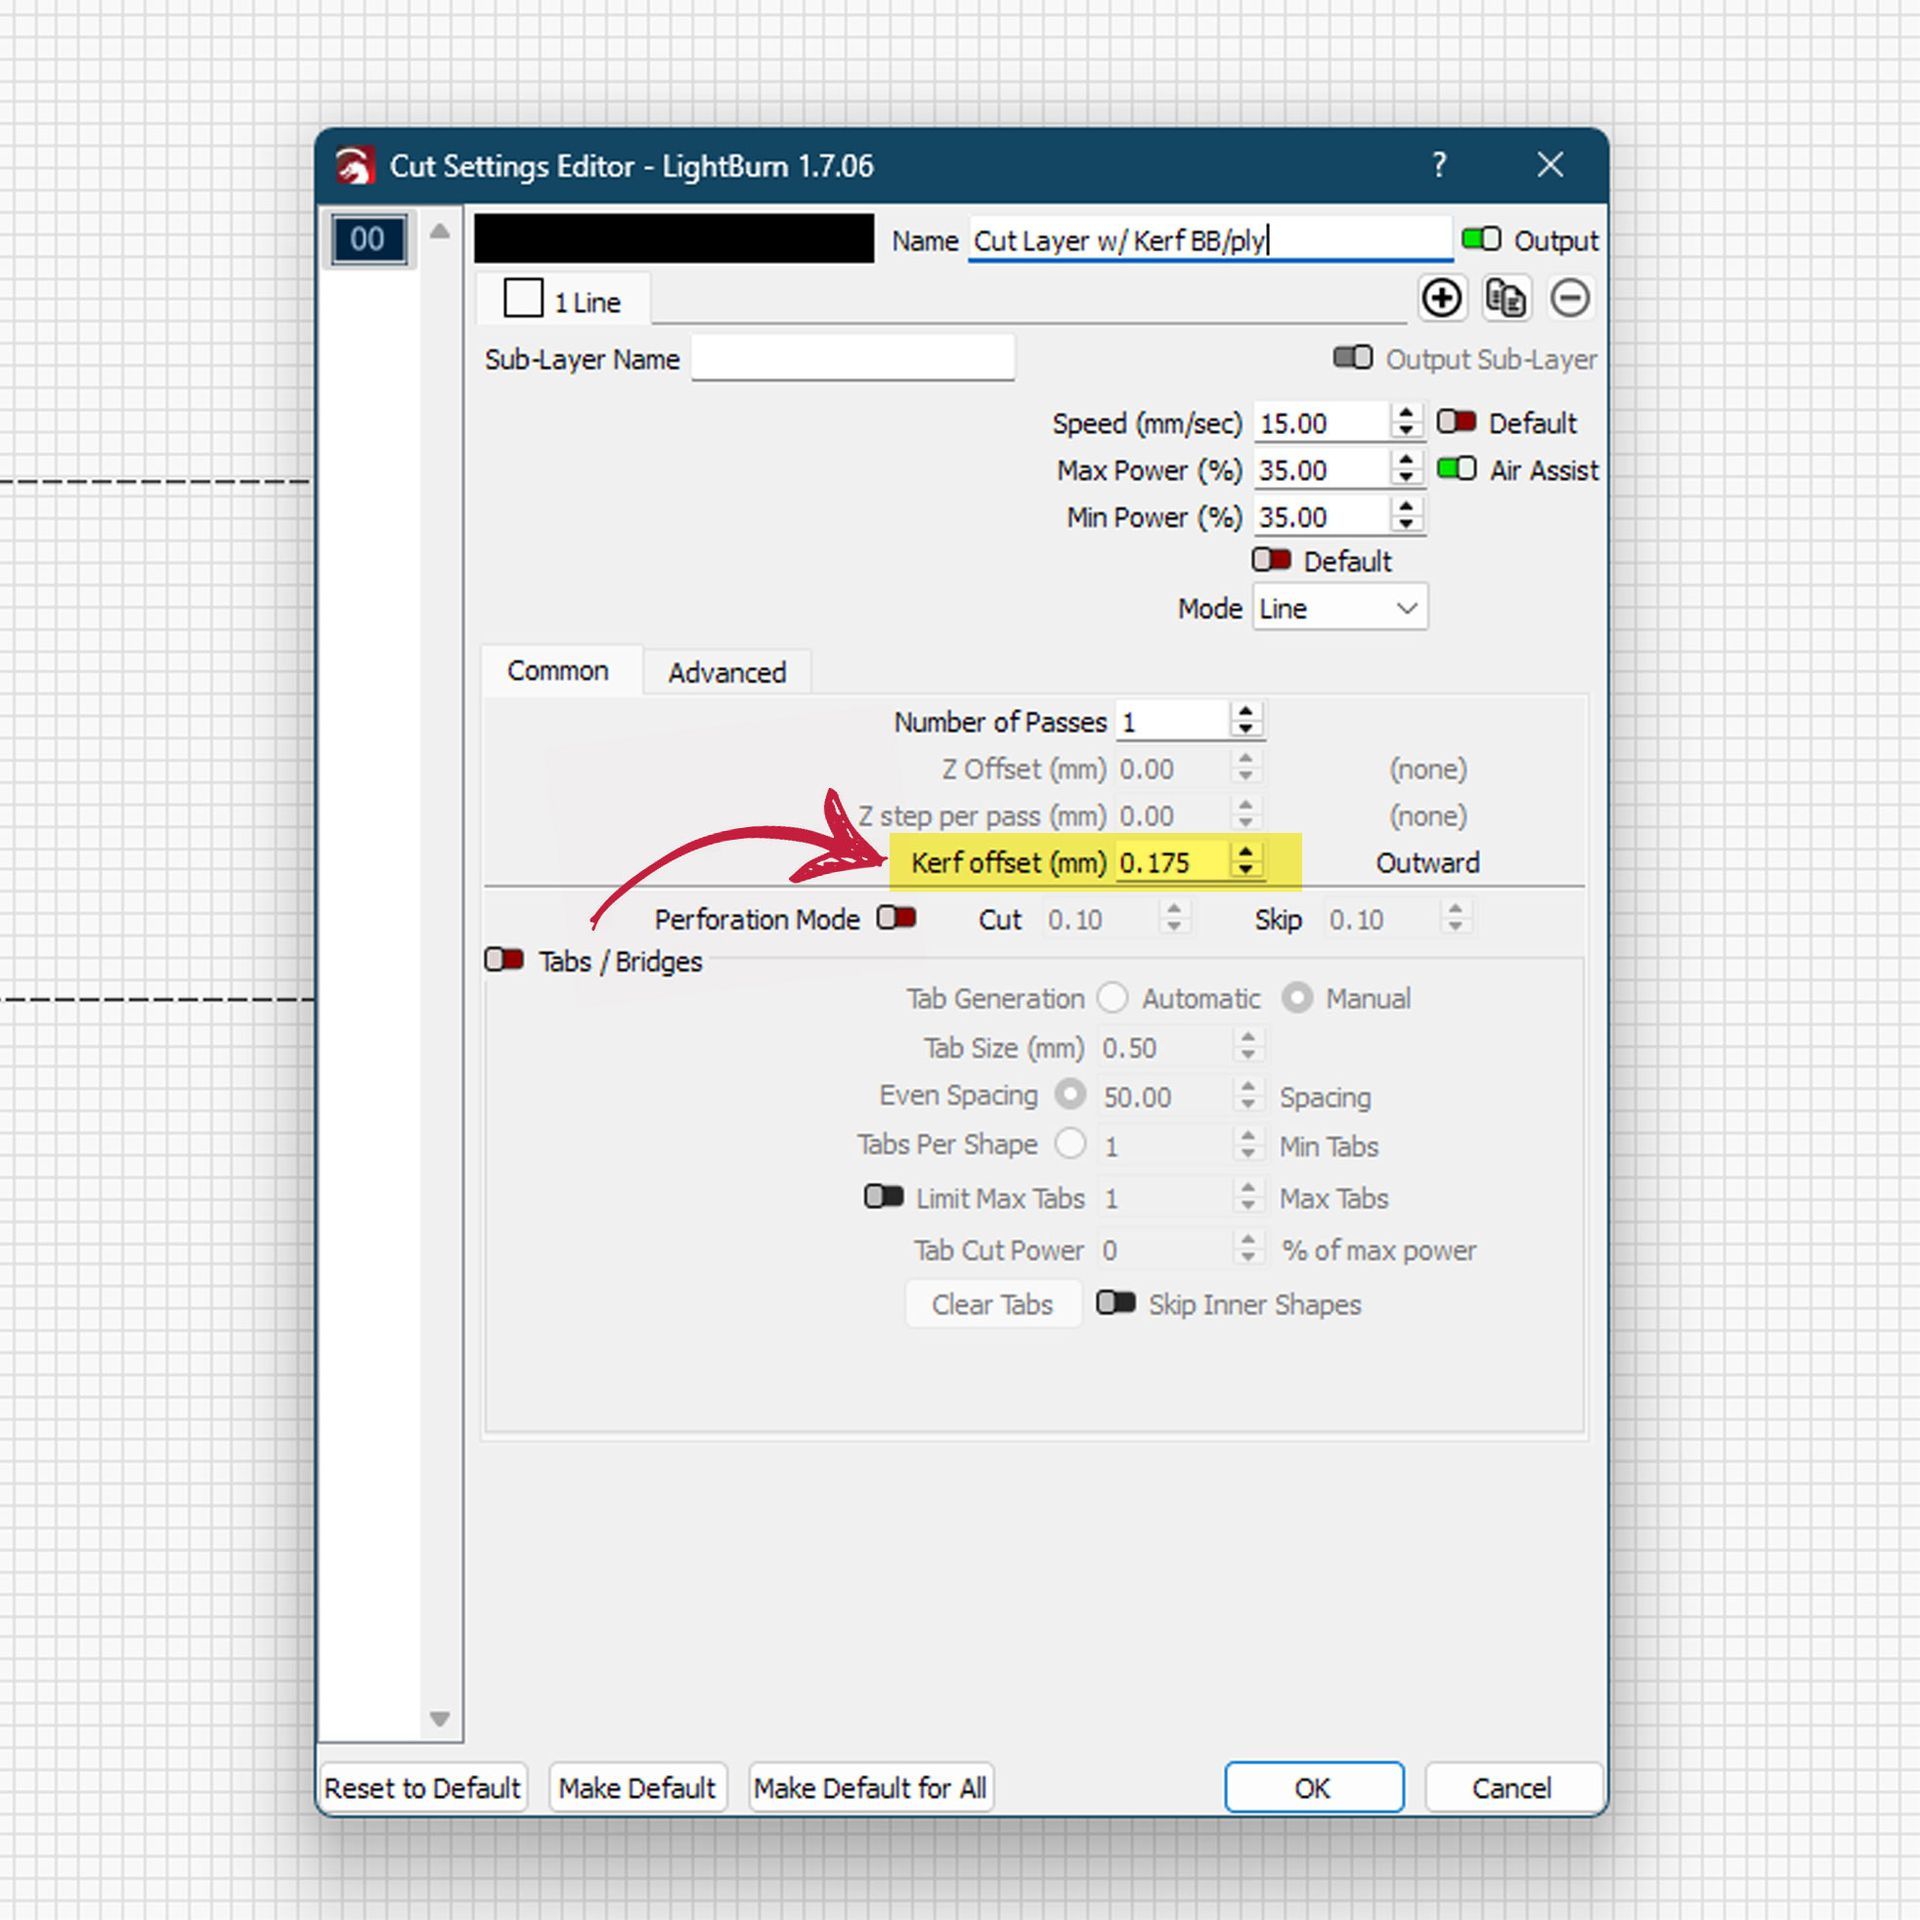
Adjusting Kerf Offset in LightBurn
After calculating the kerf size, it’s crucial to test the adjustment for accuracy. Here's how:
- Input the Kerf Offset: Add the calculated kerf offset into the cut settings editor in LightBurn. For example, if your kerf is 0.13mm, input this value as the kerf offset.
- Perform a Test Cut: Cut another 10mm square using these adjusted settings.
- Measure Again: Measure the newly cut square to check if the width is closer to the expected 10mm. This step verifies if the kerf offset accurately compensates for the material removed by the laser.
By iterating through these steps, you fine-tune the laser settings to achieve precise cuts, ensuring your projects fit together perfectly every time.
Achieving the Perfect Kerf
Measuring your kerf size with precision is a critical aspect of mastering your CO2 laser machine. By following these steps and taking safety precautions (if necessary), you can ensure that your kerf size aligns perfectly with your project's requirements.
At Rabbit Laser USA, we're dedicated to providing you with the knowledge and tools you need to excel in the world of laser technology. So, go ahead and create with confidence, knowing that you have mastered the art of kerf size measurement. 🐇
FAQ: Optimizing Kerf Size for Precision Laser Cutting
- What is kerf size? Kerf is the material removed by the laser during cutting. Precise kerf measurement ensures components fit perfectly, crucial for projects like finger joint boxes.
- How do I measure kerf size effectively? Perform a test cut, like a 10mm square, then measure the finished cut’s internal dimensions to calculate kerf.
- What are the consequences of incorrect kerf size? Inaccurate kerf can result in overly tight or loose joints, impacting both the assembly process and the durability of the final product.
- Does kerf size vary with different materials? Yes, material type and thickness can affect kerf size, necessitating material-specific adjustments.
- How can LightBurn help adjust kerf size? Use LightBurn’s kerf offset feature in the cut settings editor to automatically adjust the laser path based on your kerf measurement, streamlining the cutting process for intricate designs like finger joints.

Learn how Rabbit Laser USA combines 3D printing and laser cutting to improve precision, boost efficiency, and innovate custom fabrication solutions.

Discover the art of crafting beautiful wood inlays with precision laser cutting in our step-by-step guide. Learn essential tips for preparing and testing materials like Baltic birch plywood and cherry wood veneer, ensuring flawless results in your projects. This tutorial covers everything from selecting the right wood and masking techniques to detailed engraving and cutting processes. Perfect for DIY enthusiasts and crafters looking to enhance their skills with laser technology!

Learn how to master job origins in LightBurn with this essential guide. Discover when to use Absolute Coordinates, User Origin, and Current Position to improve precision, efficiency, and material usage in your laser cutting and engraving projects. Plus, get quick tips to streamline your workflow and avoid common mistakes.

Discover why RuiDa controllers are the industry standard for laser engraving and laser cutting machines. Learn how they outperform proprietary controllers, offer seamless LightBurn compatibility, and provide unmatched precision. At Rabbit Laser USA, we’ve been upgrading customers' machines with RuiDa to give them full control over their laser cutter and engraver. Upgrade your laser machine today!
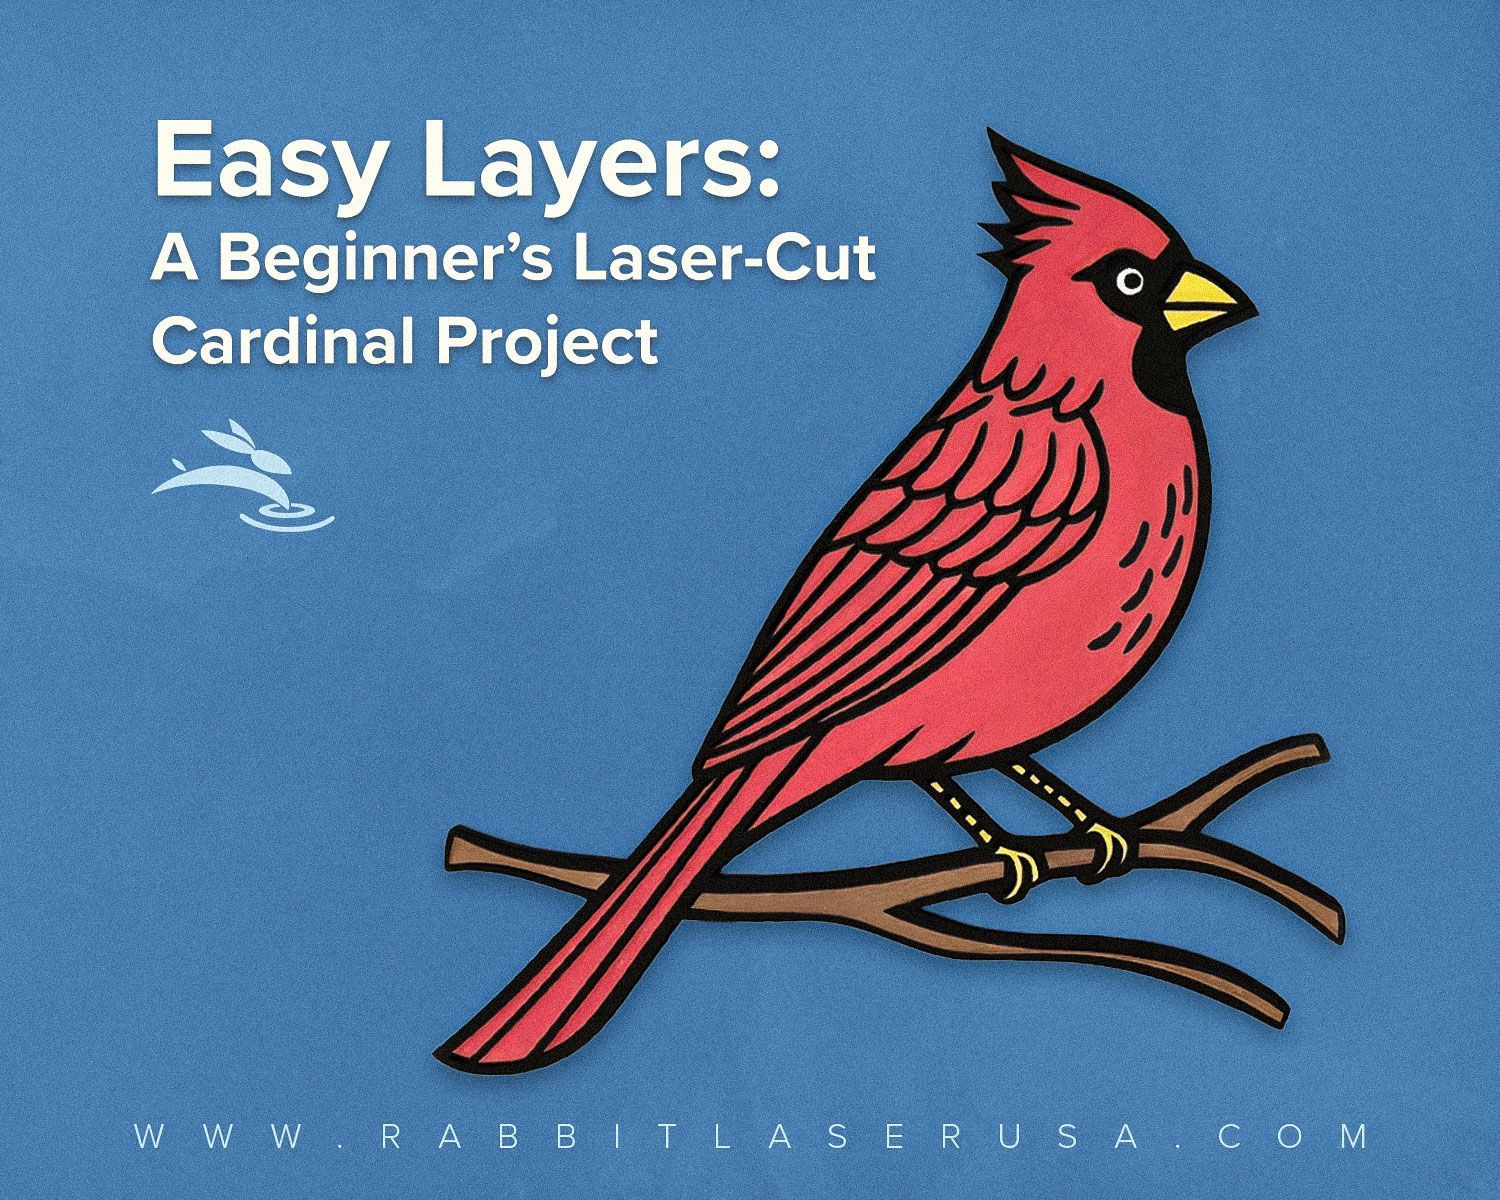
Create a vibrant, layered cardinal with this beginner-friendly laser cutting guide. Learn color separation, painting tips, and assembly tricks for eye-catching décor.
Empower your classroom with Rabbit Laser USA’s reliable laser systems—minimize downtime, save with educator discounts, and spark student creativity!

Discover the importance of selecting the right focal length for your CO2 laser machine with Rabbit Laser USA. Learn about different lenses, their optimal uses, and maintenance tips to enhance your laser engraving and cutting projects. Ensure precision and safety with our guide to lens choices and care.
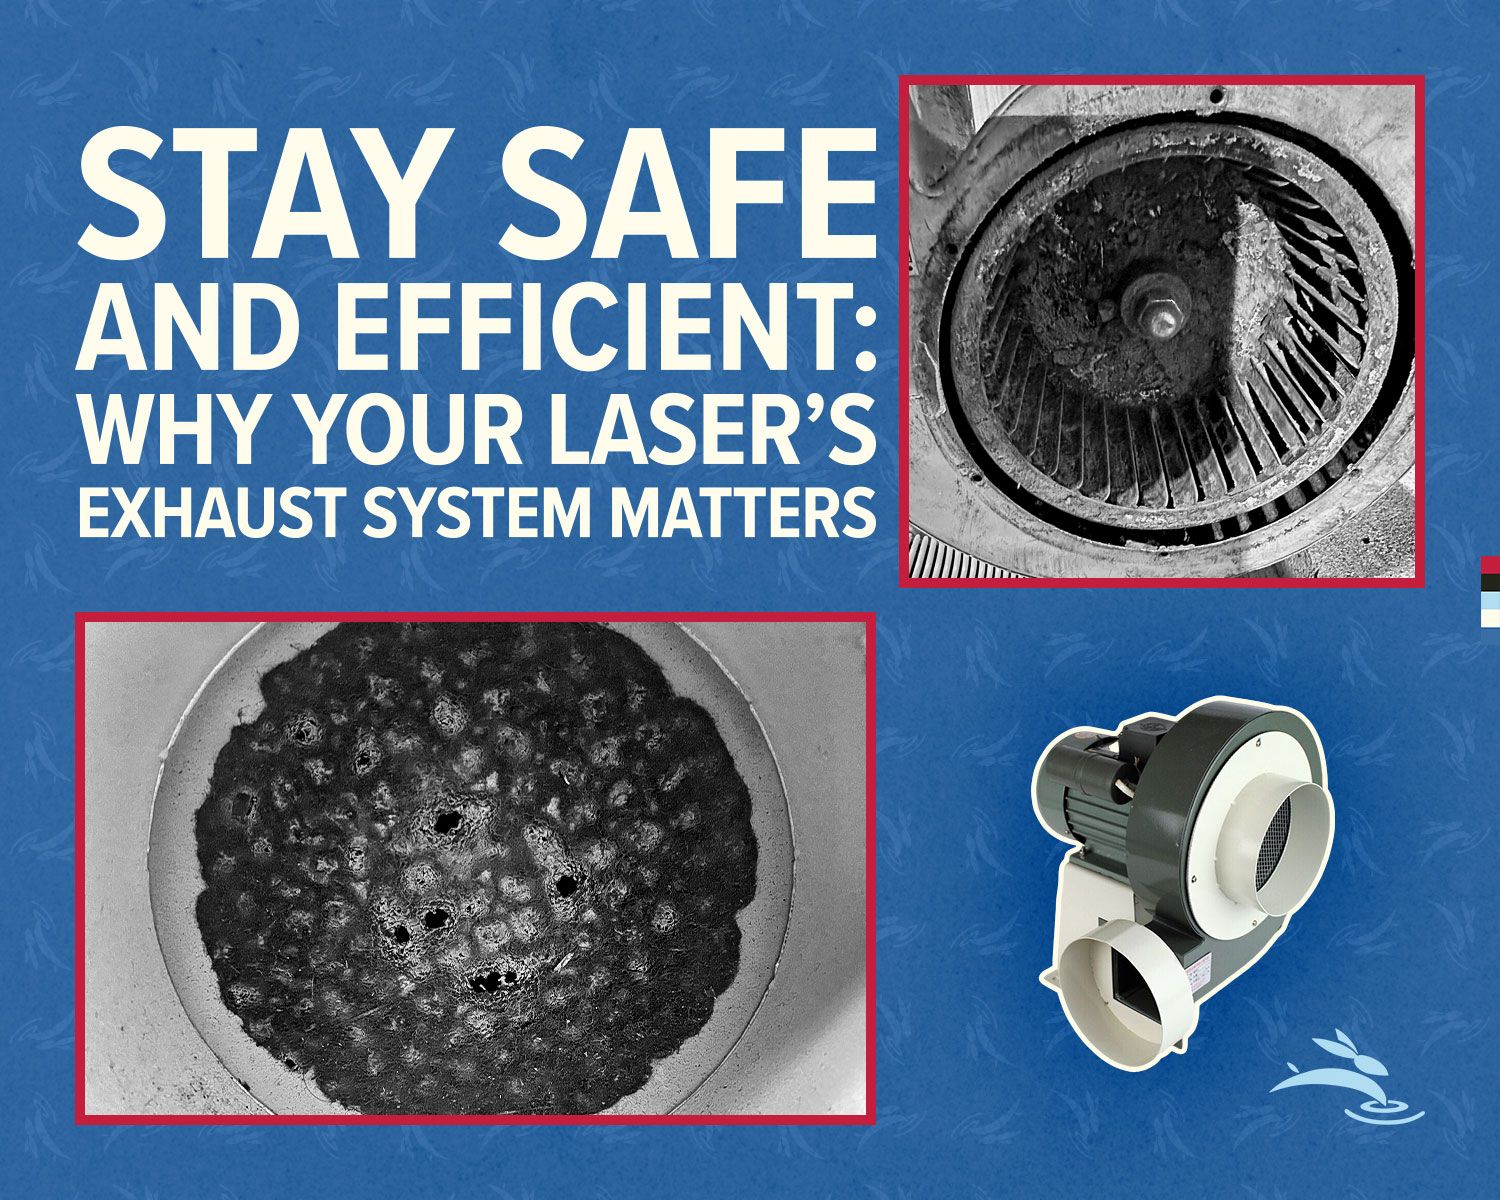
Learn why maintaining your laser’s exhaust system is crucial for safety, health, and top performance. Get monthly maintenance tips, discover which materials are toxic, and see how Rabbit Laser USA’s 550W Vacuum Blower Fan can keep your workspace safe and efficient.
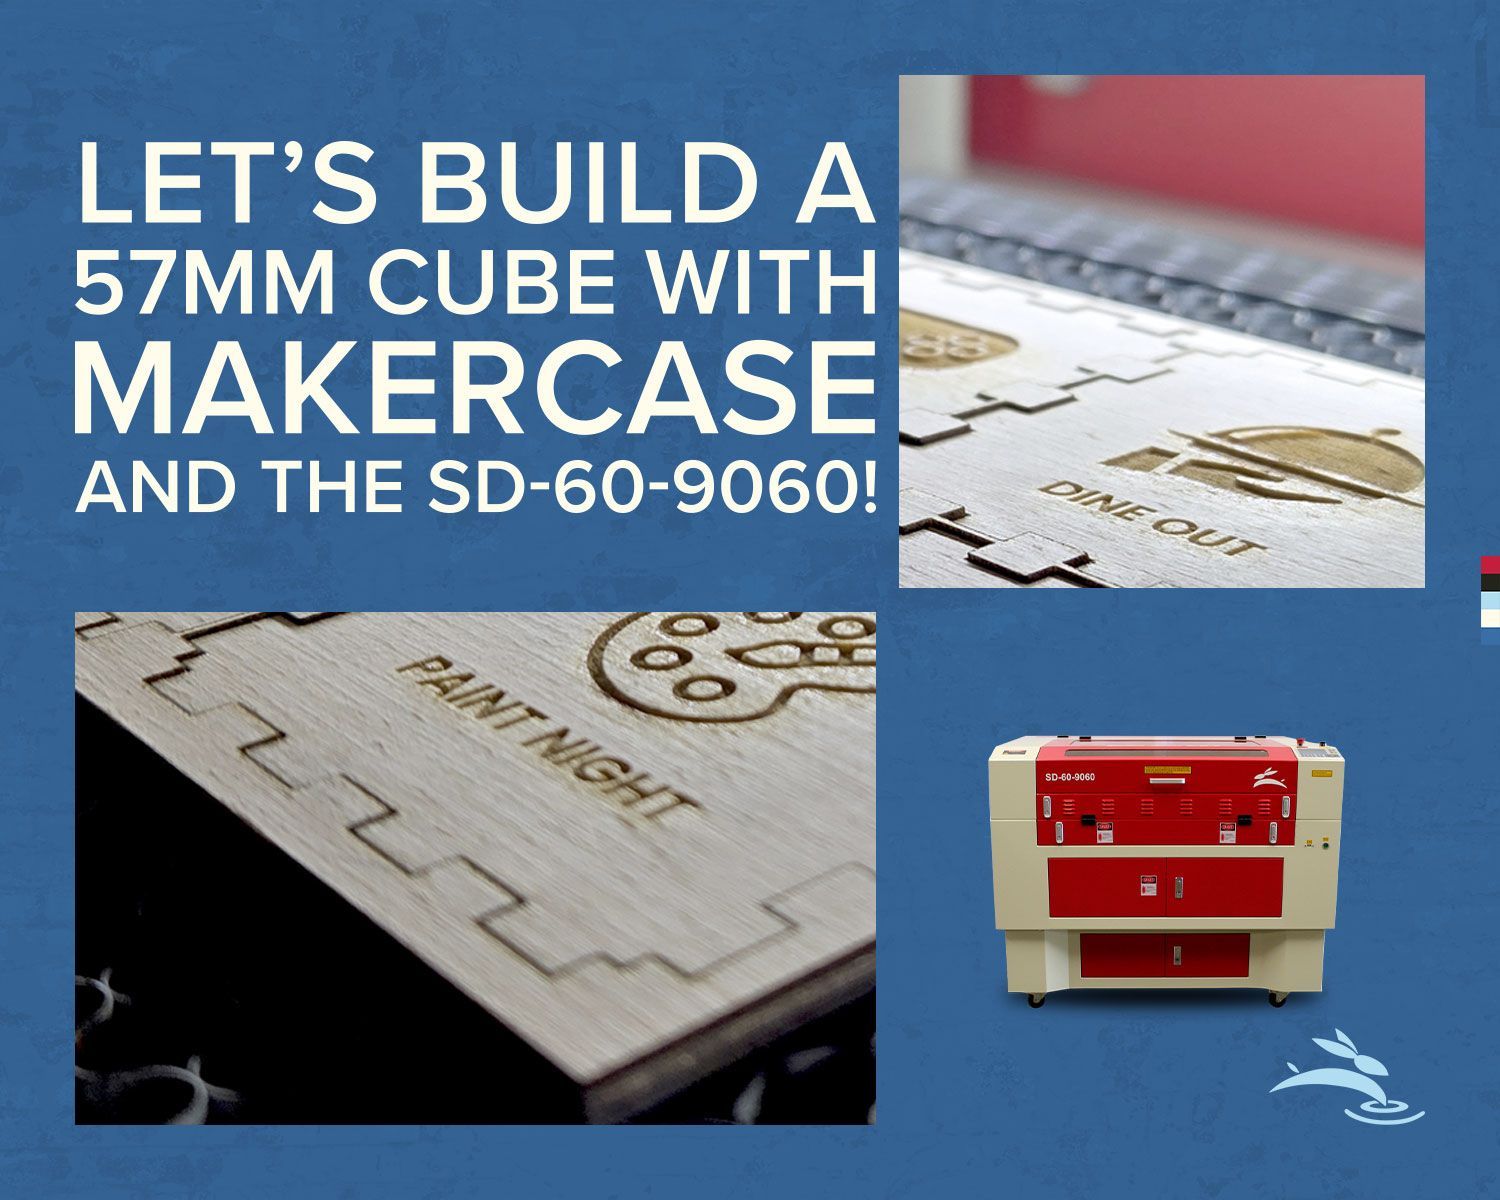
Learn how to design and create a 57mm cube using MakerCase and Rabbit Laser USA's SD-60-9060 CO2 laser cutter. Follow our step-by-step guide featuring precision settings, cutting tips, and assembly techniques for a perfect fit. Perfect for makers, hobbyists, and educational projects!
Minimize downtime with Rabbit Laser USA's in-stock laser machine parts and fast shipping. From lenses to air assist components, we ensure reliable quality and quick delivery. Count on our lifetime customer support to keep your laser engraving and cutting machines running smoothly. Visit us today to stay productive!
Learn how to master air assist for laser engraving and cutting projects. Discover when to use air assist, tips for optimizing performance, real-world applications, and troubleshooting common issues. Achieve cleaner cuts, sharper engravings, and safer results with expert guidance from Rabbit Laser USA.

Learn how to maximize the lifespan of your CO2 laser tube with expert tips on maintenance, cooling systems, optimal settings, and more. Keep your machine running smoothly and efficiently for years.