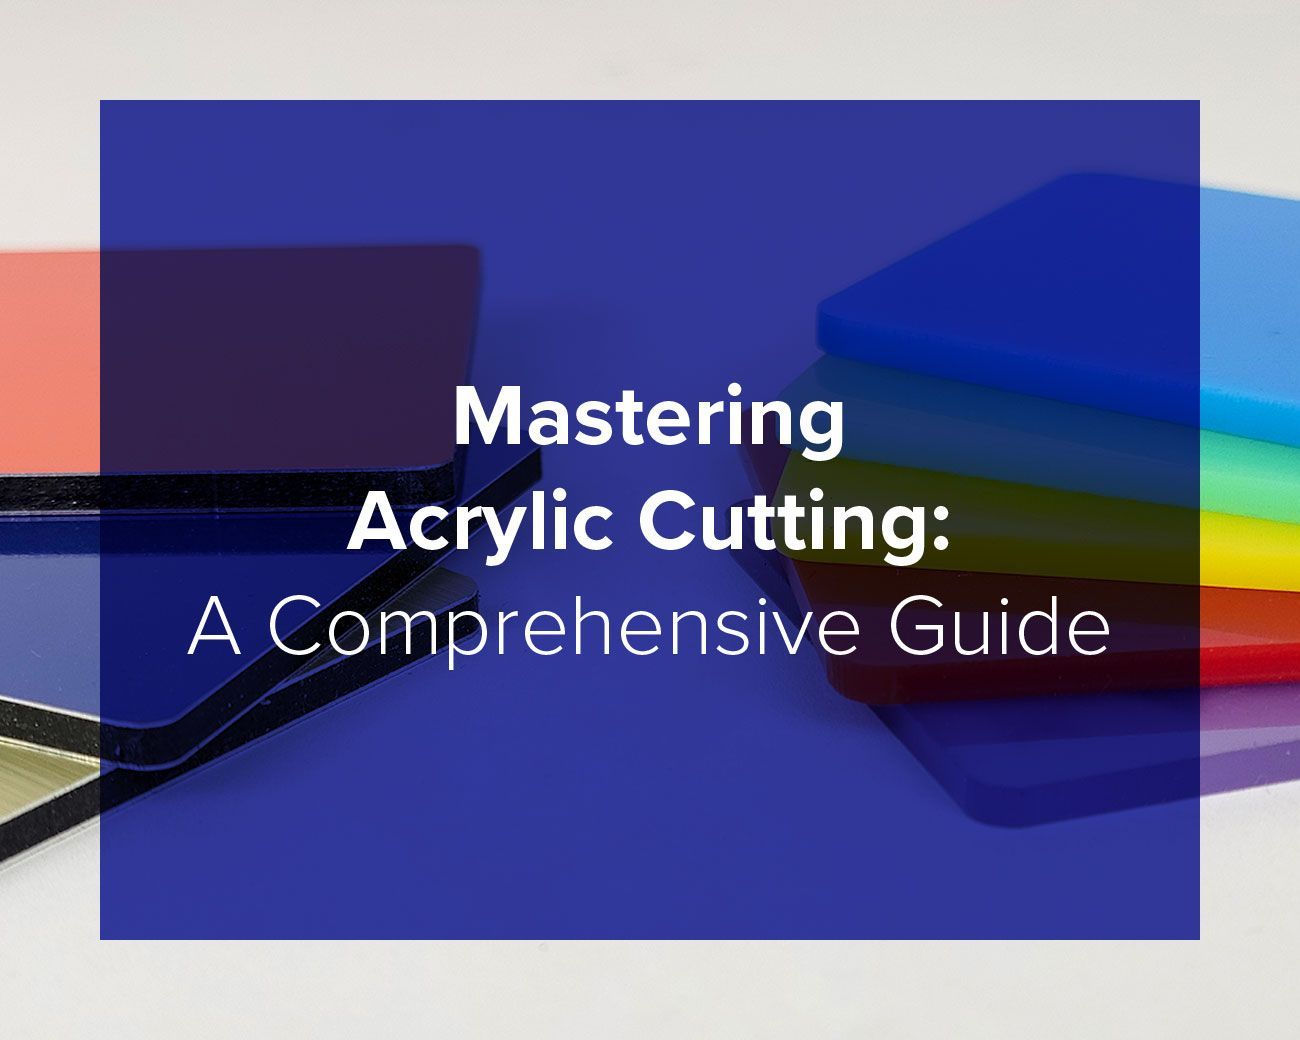
Mastering Acrylic Cutting: A Comprehensive Guide
Welcome, fellow artisans and creators, to our blog post on the art of cutting acrylic. Whether you're a seasoned professional or a hobbyist looking to dive into the world of acrylic crafting, these tips will surely elevate your skills and ensure your projects come out flawlessly.
Know Your Material
First things first, let's clarify something crucial: acrylic is not plexiglass. It's a common mistake, but understanding the difference is paramount. While acrylic is a thermoplastic, plexiglass is typically made of polycarbonate. Cutting polycarbonate with a laser can result in unpleasant consequences, such as producing corrosive smoke that's harmful to both your equipment and your health. So, always double-check that you're working with acrylic before firing up your laser cutter.
Harness the Power of Airflow
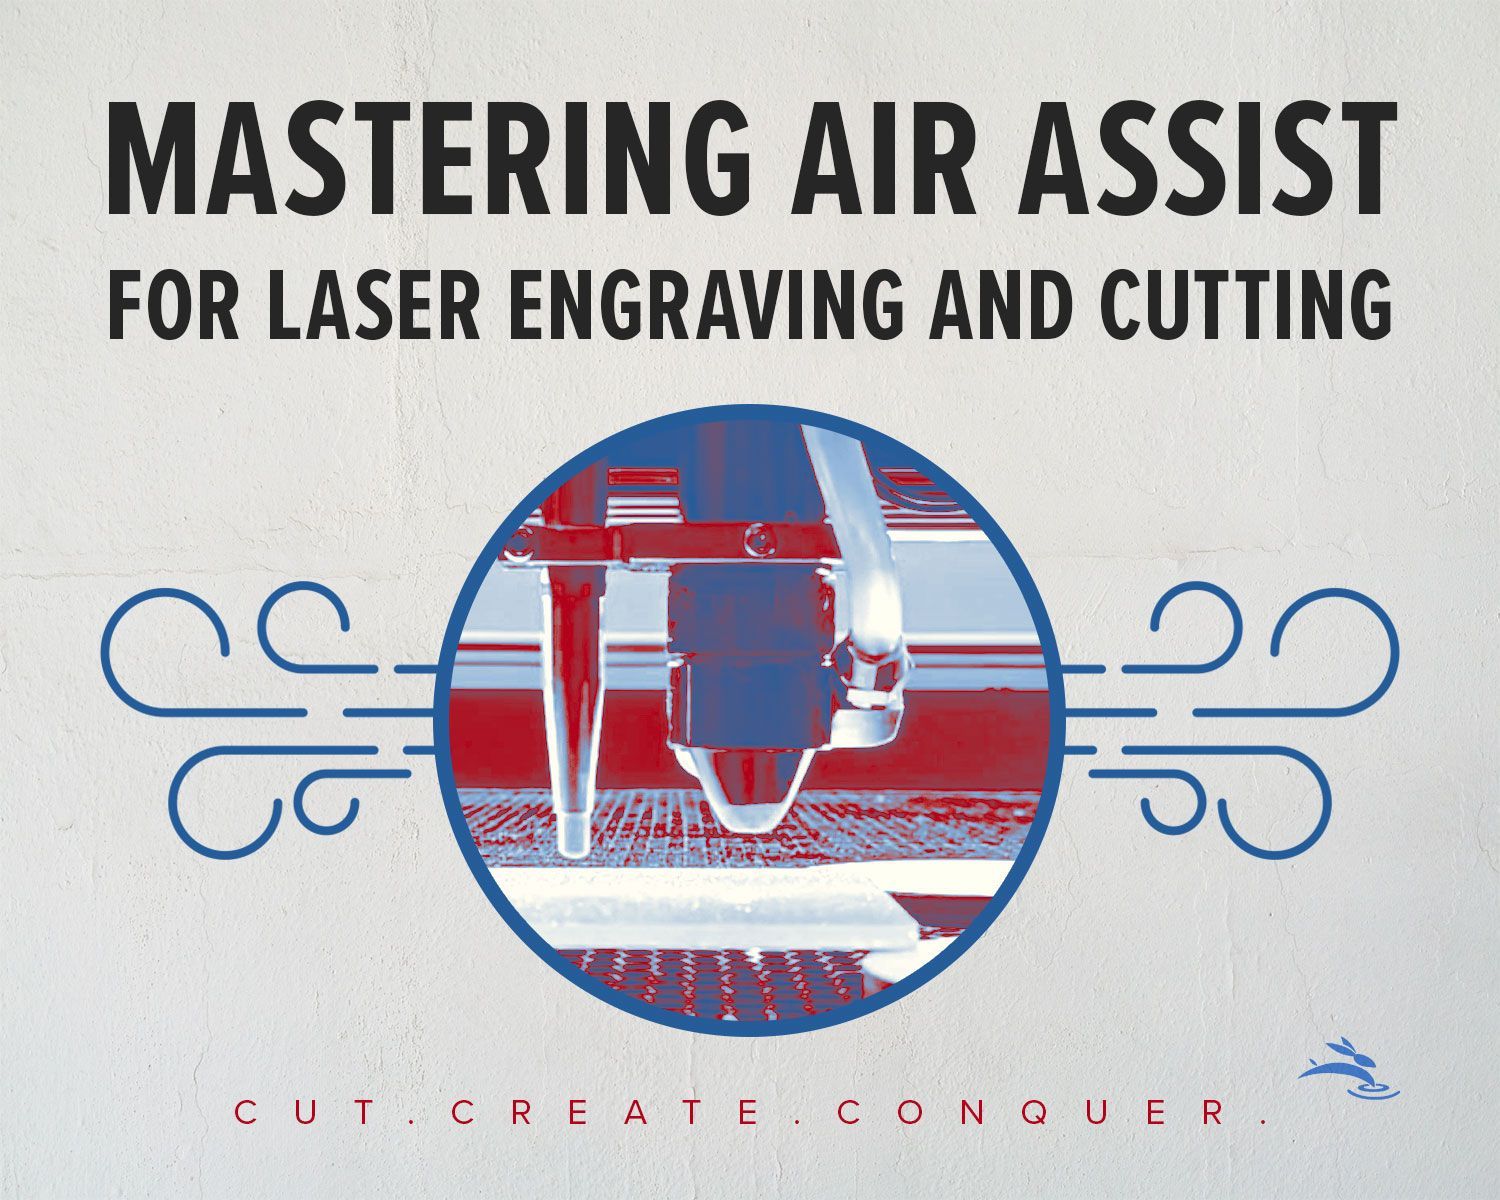
When it comes to cutting acrylic, airflow is your best friend. Utilizing a vacuum table is essential to ensure proper cooling and prevent overheating. Cover the majority of the table with sheets of paper to concentrate airflow around the acrylic piece. This not only aids in cooling but also helps clear away debris and fumes generated during the cutting process.
Optimize Air Nozzle Settings
Adjusting the air nozzle to maximize airflow is crucial for maintaining a clean and safe cutting environment. A steady flow of air will not only clear the kerf of debris but also prevent the surrounding acrylic from overheating, reducing the risk of fire. Remember, a well-ventilated workspace is a happy workspace!
Elevate and Protect
To avoid unwanted marks or burns on your acrylic, it's wise to elevate it above the vacuum table. Creating a gap underneath the acrylic using scraps or readily available materials like egg crate plastic can mitigate the risk of flashback. This phenomenon occurs when the laser hits the aluminum honeycomb and reflects back onto the acrylic, leaving undesirable marks. Elevating the acrylic effectively eliminates this issue, ensuring pristine cuts every time.
Find Your Cutting Sweet Spot
Achieving the perfect cut on acrylic requires a delicate balance of power and speed. While it may vary depending on the thickness and type of acrylic, starting with a speed of around 10 mm/sec is a good rule of thumb. Experiment with different settings to find what works best for your specific project. Remember, patience is key – obtaining a flawless edge on acrylic often requires a slower cutting process.
In conclusion, mastering the art of cutting acrylic is a combination of skill, knowledge, and a little bit of experimentation. By following these tips and techniques, you'll be well on your way to creating stunning acrylic masterpieces with ease and confidence. Happy crafting! 🐰