How to Trace Images in LightBurn Software
Are you looking to enhance your designs with intricate details? Learning how to trace images within LightBurn software can elevate your creative projects to new heights. LightBurn offers powerful tools for vectorizing images, allowing you to convert raster graphics into editable vector paths. Let's dive into the process step by step to unlock the full potential of your designs.
Understanding Image Tracing
Before we delve into the specifics, it's essential to grasp the concept of image tracing. Image tracing involves converting bitmap images, also known as raster graphics, into vector graphics. Unlike raster graphics, which are composed of pixels and can become pixelated when resized, vector graphics are composed of scalable paths defined by mathematical equations. This scalability makes vector graphics ideal for various applications, including laser cutting, engraving, and graphic design.
Importing Your Image
The first step in tracing an image within LightBurn is to import your desired image into the software. LightBurn supports a wide range of file formats, including JPEG, PNG, BMP, SVG, and more. Simply navigate to the "File" menu, select "Import," and choose your image file from your computer's storage. Once imported, your image will appear on the LightBurn workspace, ready for tracing.
Tracing Your Image
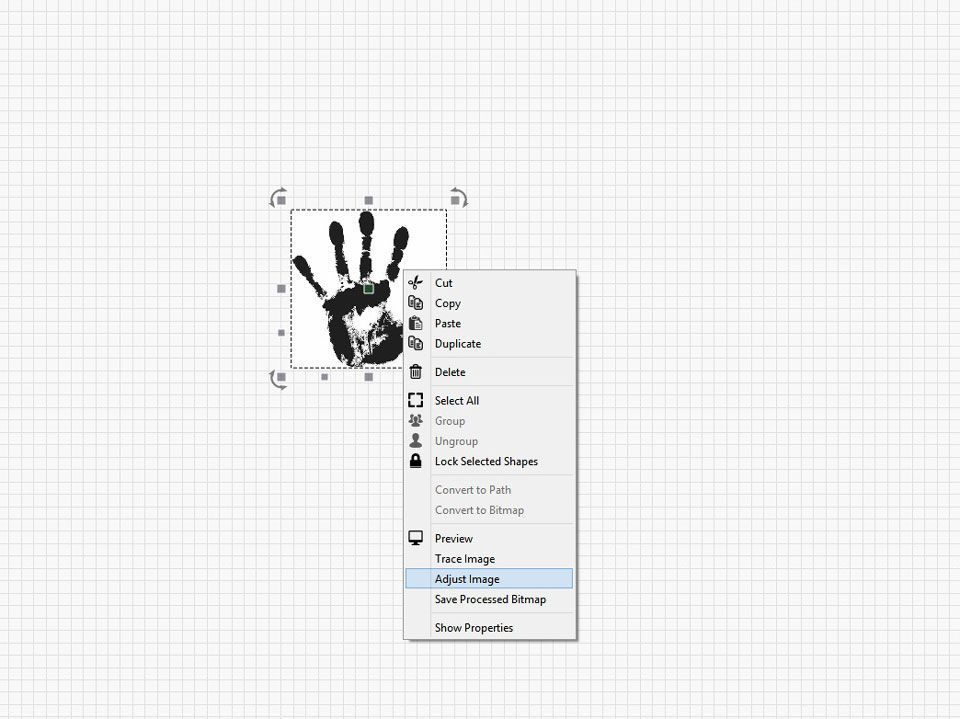
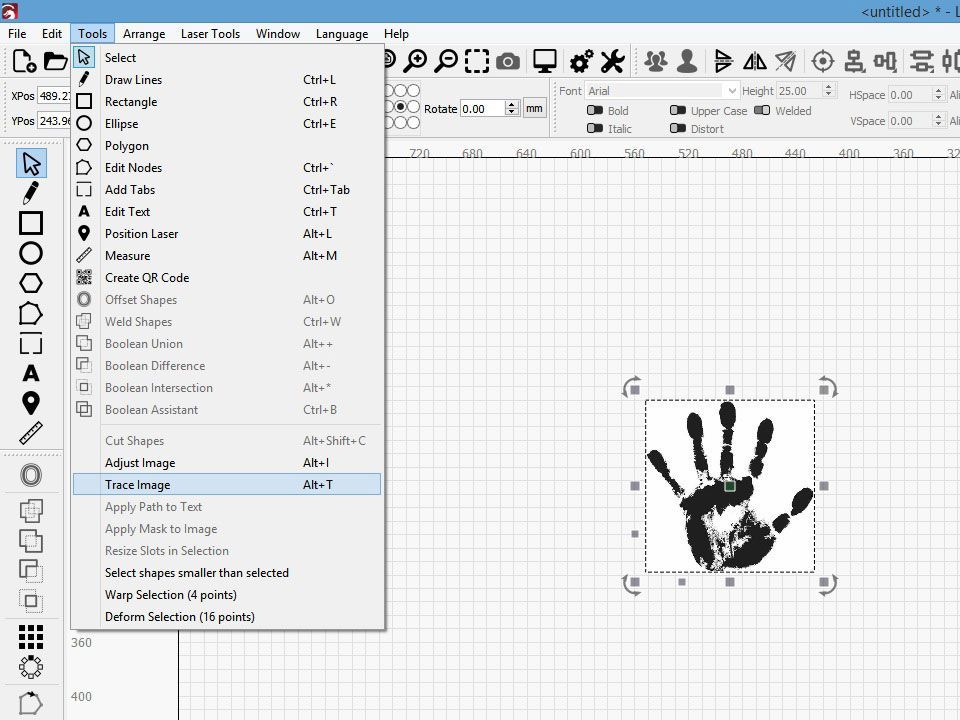
Now that your image is imported, it's time to trace it using LightBurn's tracing tools. You can access the "Trace Image" tool in two ways:
- Right-click on your imported image within the LightBurn workspace.
- Navigate to the "Tools" menu and select "Trace Image." This action will also open the Trace Image dialog box, where you can adjust various settings to achieve the desired tracing result.
Adjusting Trace Settings
LightBurn provides several options for customizing the tracing process to suit your specific needs. You can adjust parameters such as threshold, brightness cutoff, and smoothing to fine-tune the tracing outcome. Experimenting with these settings allows you to achieve optimal results based on the complexity and clarity of your image.
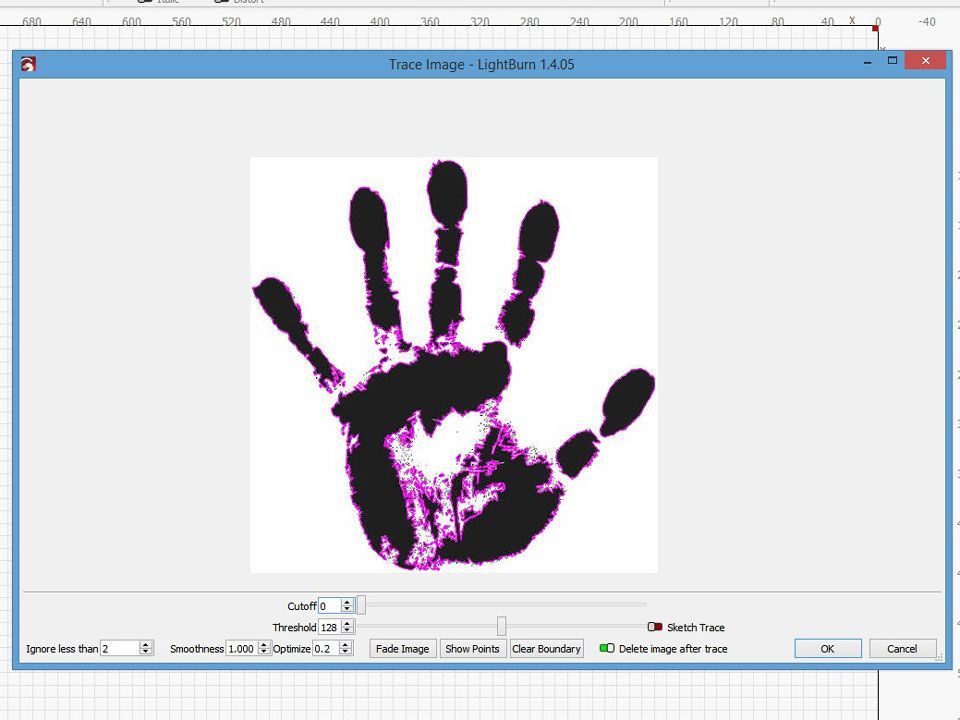
Previewing and Refining
After adjusting the trace settings, take advantage of LightBurn's preview feature to assess the tracing outcome before finalizing it. The preview allows you to visualize how the traced image will appear, enabling you to make further refinements if necessary. You can adjust settings on the fly and preview the changes in real time until you're satisfied with the result.
Converting to Vector Paths
Once you're happy with the traced image preview, it's time to convert it into vector paths. Click the "Trace" button to initiate the tracing process. LightBurn will convert the raster image into editable vector paths based on your specified settings, resulting in a vectorized version of your original image.
Editing and Customizing
With your image successfully traced and converted into vector paths, you now have full control over editing and customizing it to your liking. LightBurn provides a range of editing tools for manipulating vector objects, including node editing, shaping, and resizing. You can further enhance your design by adding text, adjusting colors, and incorporating additional elements.
Conclusion
Mastering the art of tracing images within LightBurn opens up a world of creative possibilities for your projects. Whether you're a graphic designer, maker, or hobbyist, understanding how to effectively trace images allows you to unleash your creativity and produce stunning results. By following the steps outlined in this guide and experimenting with LightBurn's tracing tools, you'll be on your way to creating intricate designs with ease. 🐰