title text over plotting graph

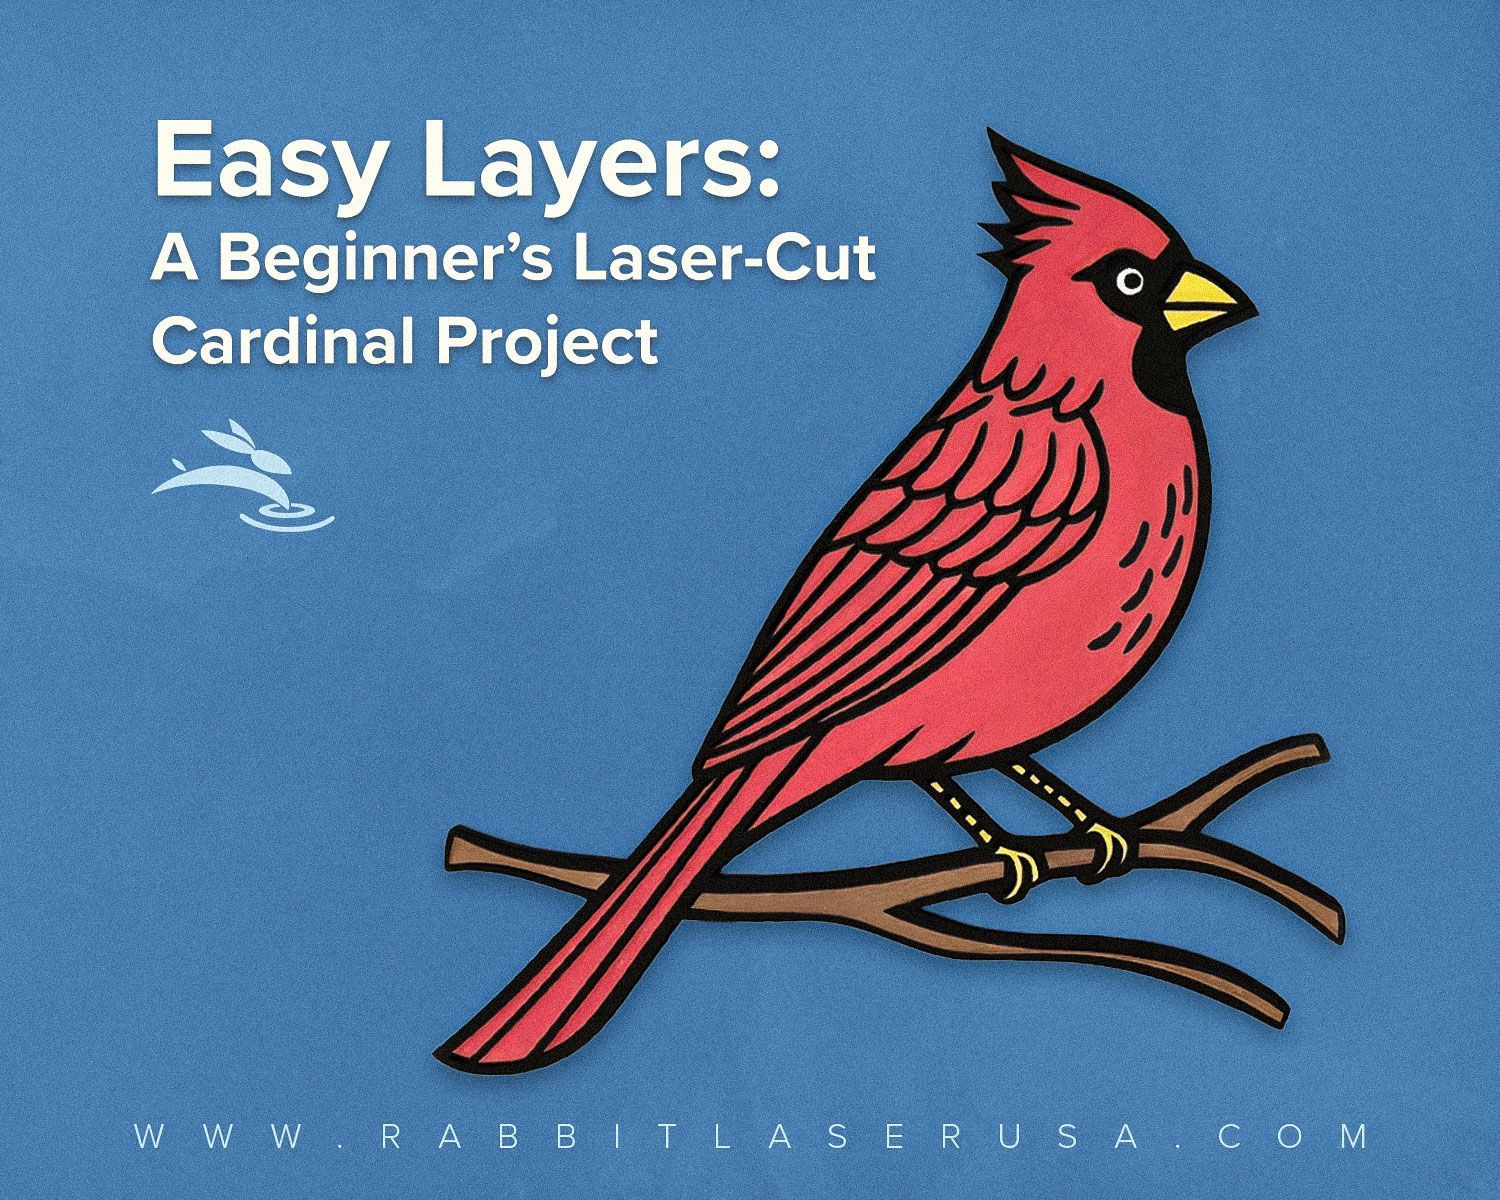
Boost Your Laser Machine’s Lifespan: Master Power and Speed Settings

Hey there, laser enthusiasts! Ever wondered why your laser machine’s glass tube isn’t lasting as long as you expected? You’re not alone. Many users face this issue, but there’s a simple solution: understanding and optimizing your power and speed settings. Today, we’ll dive into why material testing is crucial for extending the life of your laser machine’s glass tube and improving the quality of your cuts and engravings. Let’s get started!


Understanding Power and Speed Settings


First, let’s break down what we mean by power and speed settings.


Power Settings: This controls the strength of your laser beam. Think of it like adjusting the brightness of a flashlight. Higher power means a stronger, more intense beam, while lower power gives you a softer, less intense beam.


Speed Settings: This controls how fast the laser head moves. Imagine painting a wall—moving the brush quickly might cover more area but with less detail, while a slower stroke gives you more precision.


By mastering these settings, you can achieve cleaner cuts and more detailed engravings without putting unnecessary stress on your machine.


The Impact of High Power on Your Laser Machine


Now, let’s talk about what happens when you crank up the power settings all the time.


Wear and Tear on the Glass Laser Tube: Running your machine at high power consistently wears out the glass laser tube faster. Just like driving a car at top speed all the time, it’s going to wear out quicker than if you’re driving at a moderate pace.


Energy Consumption: Higher power settings also mean your machine uses more energy. Over time, this not only costs you more money but also adds unnecessary stress on your machine’s components.


Benefits of Material Testing


So, how do we avoid these issues? The answer is material testing.


Why Material Testing is Crucial: Every material reacts differently to the laser. Testing helps you find the sweet spot for each type of material, ensuring you get the best results without overworking your machine. For a detailed guide on material testing, check out our previous blog post on Material Testing in LightBurn Software.


Practical Tips for Optimizing Power and Speed


Maintaining a Testing Log: Keeping detailed records of your settings is key. This doesn’t have to be complicated—a simple notebook or a digital spreadsheet will do the trick. Record the material, the power and speed settings, and the results.


Common Materials and Recommended Settings: Here’s a quick overview to get you started:

  • Acrylic: Low to medium power, medium speed for clean cuts.
  • Wood: Medium power, low speed for detailed engravings.
  • Leather: Low power, high speed to avoid burning.


Real-Life Scenarios


To bring this all together, let’s look at a couple of real-life scenarios.


Case Study 1: Acrylic Cutting


You want clean, precise cuts in acrylic. By testing, you find that a medium power setting and a moderate speed give you the best results without melting the edges. High power settings, on the other hand, lead to rough, uneven cuts and wear out your laser tube faster.


Case Study 2: Wood Engraving


Engraving detailed designs on wood can be tricky. Through testing, you discover that a medium power setting and a slow speed produce deep, detailed engravings. High power settings might scorch the wood, while high speeds can miss fine details.


Conclusion


To recap, understanding and optimizing your power and speed settings is essential for extending the life of your laser machine’s glass laser tube and achieving high-quality cuts and engravings. Material testing is your best friend here—take the time to test and record your results, and you’ll see a big difference.


Ready to get started? Grab some sample materials and start testing those settings. If you need more tips or have questions, don’t hesitate to reach out to us at Rabbit Laser USA. We’re here to help you get the most out of your machine!


Happy lasering, and remember—Cut. Create. Conquer. 🐰

3D printed attachments and laser-cut components developed by Rabbit Laser USA
By Rod Boehm April 14, 2025
Learn how Rabbit Laser USA combines 3D printing and laser cutting to improve precision, boost efficiency, and innovate custom fabrication solutions.
blog post thumbnail
By Rod Boehm April 2, 2025
Discover the art of crafting beautiful wood inlays with precision laser cutting in our step-by-step guide. Learn essential tips for preparing and testing materials like Baltic birch plywood and cherry wood veneer, ensuring flawless results in your projects. This tutorial covers everything from selecting the right wood and masking techniques to detailed engraving and cutting processes. Perfect for DIY enthusiasts and crafters looking to enhance their skills with laser technology!
By Rod Boehm March 21, 2025
Learn how to master job origins in LightBurn with this essential guide. Discover when to use Absolute Coordinates, User Origin, and Current Position to improve precision, efficiency, and material usage in your laser cutting and engraving projects. Plus, get quick tips to streamline your workflow and avoid common mistakes.
photo of RuiDa control pad and controller
By Rod Boehm March 5, 2025
Discover why RuiDa controllers are the industry standard for laser engraving and laser cutting machines. Learn how they outperform proprietary controllers, offer seamless LightBurn compatibility, and provide unmatched precision. At Rabbit Laser USA, we’ve been upgrading customers' machines with RuiDa to give them full control over their laser cutter and engraver. Upgrade your laser machine today!
laser cut cardinal with blog text
By Rod Boehm February 28, 2025
Create a vibrant, layered cardinal with this beginner-friendly laser cutting guide. Learn color separation, painting tips, and assembly tricks for eye-catching décor.
Rabbit Laser USA's DL-90-1390 co2 laser machine in a classroom setting
By Rod Boehm February 14, 2025
Empower your classroom with Rabbit Laser USA’s reliable laser systems—minimize downtime, save with educator discounts, and spark student creativity!
Blog thumbnail choosing the right lens
By Rod Boehm February 5, 2025
Discover the importance of selecting the right focal length for your CO2 laser machine with Rabbit Laser USA. Learn about different lenses, their optimal uses, and maintenance tips to enhance your laser engraving and cutting projects. Ensure precision and safety with our guide to lens choices and care.
By Rod Boehm January 29, 2025
Learn why maintaining your laser’s exhaust system is crucial for safety, health, and top performance. Get monthly maintenance tips, discover which materials are toxic, and see how Rabbit Laser USA’s 550W Vacuum Blower Fan can keep your workspace safe and efficient.
Learn how to design and create a 57mm cube using MakerCase and Rabbit Laser USA's SD-60-9060 CO2 las
By Rod Boehm January 22, 2025
Learn how to design and create a 57mm cube using MakerCase and Rabbit Laser USA's SD-60-9060 CO2 laser cutter. Follow our step-by-step guide featuring precision settings, cutting tips, and assembly techniques for a perfect fit. Perfect for makers, hobbyists, and educational projects!
title text over a body of water
By Rod Boehm January 15, 2025
Minimize downtime with Rabbit Laser USA's in-stock laser machine parts and fast shipping. From lenses to air assist components, we ensure reliable quality and quick delivery. Count on our lifetime customer support to keep your laser engraving and cutting machines running smoothly. Visit us today to stay productive!
By Rod Boehm January 8, 2025
Learn how to master air assist for laser engraving and cutting projects. Discover when to use air assist, tips for optimizing performance, real-world applications, and troubleshooting common issues. Achieve cleaner cuts, sharper engravings, and safer results with expert guidance from Rabbit Laser USA.
laser tube in front of title text
By Rod Boehm December 31, 2024
Learn how to maximize the lifespan of your CO2 laser tube with expert tips on maintenance, cooling systems, optimal settings, and more. Keep your machine running smoothly and efficiently for years.
More Posts