Problem: Engraving looks faint, skips areas, or disappears altogether.
What to check:
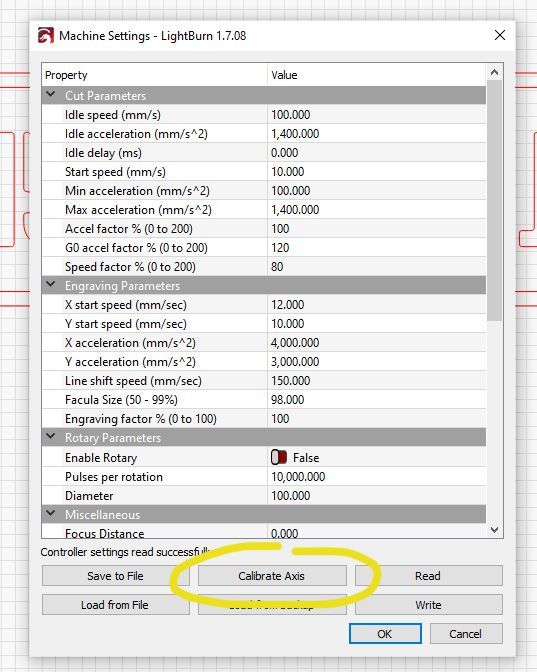
- Power Output: You may not be running enough power. Increase in 5% increments.
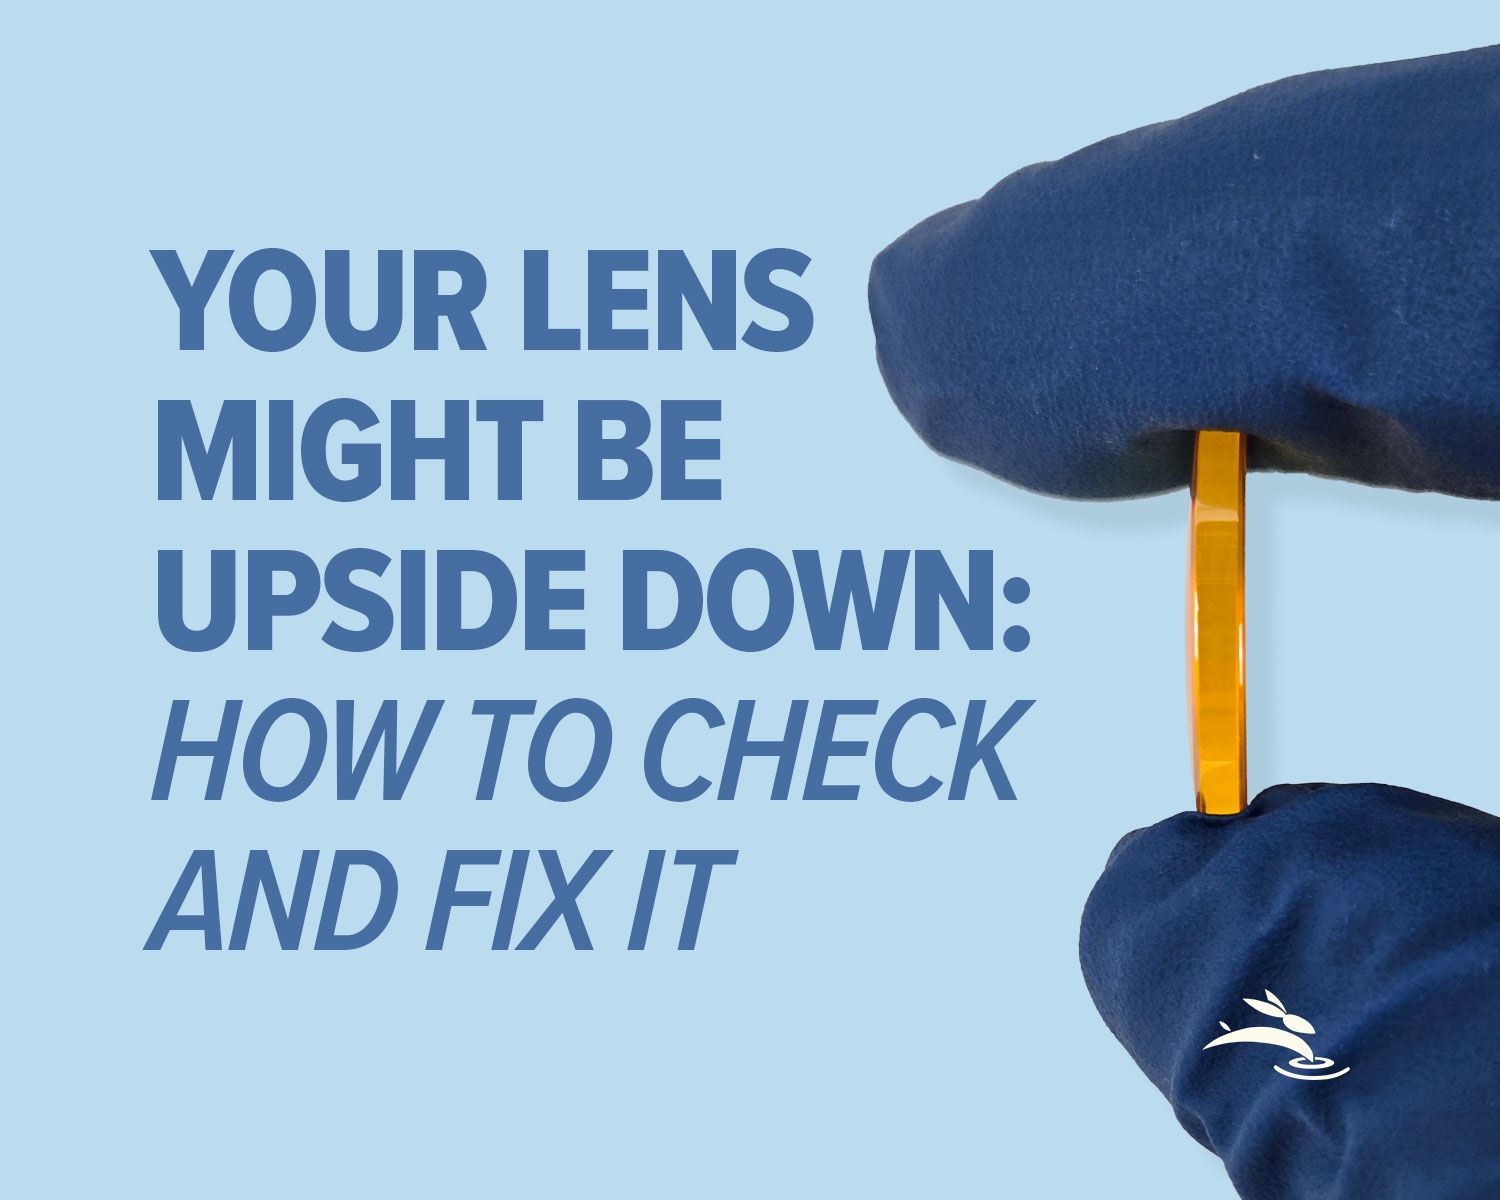
- Focus Height: Make sure your focus is dialed in for your lens size (e.g., 50.8mm). A simple Z-axis error can make or break depth.
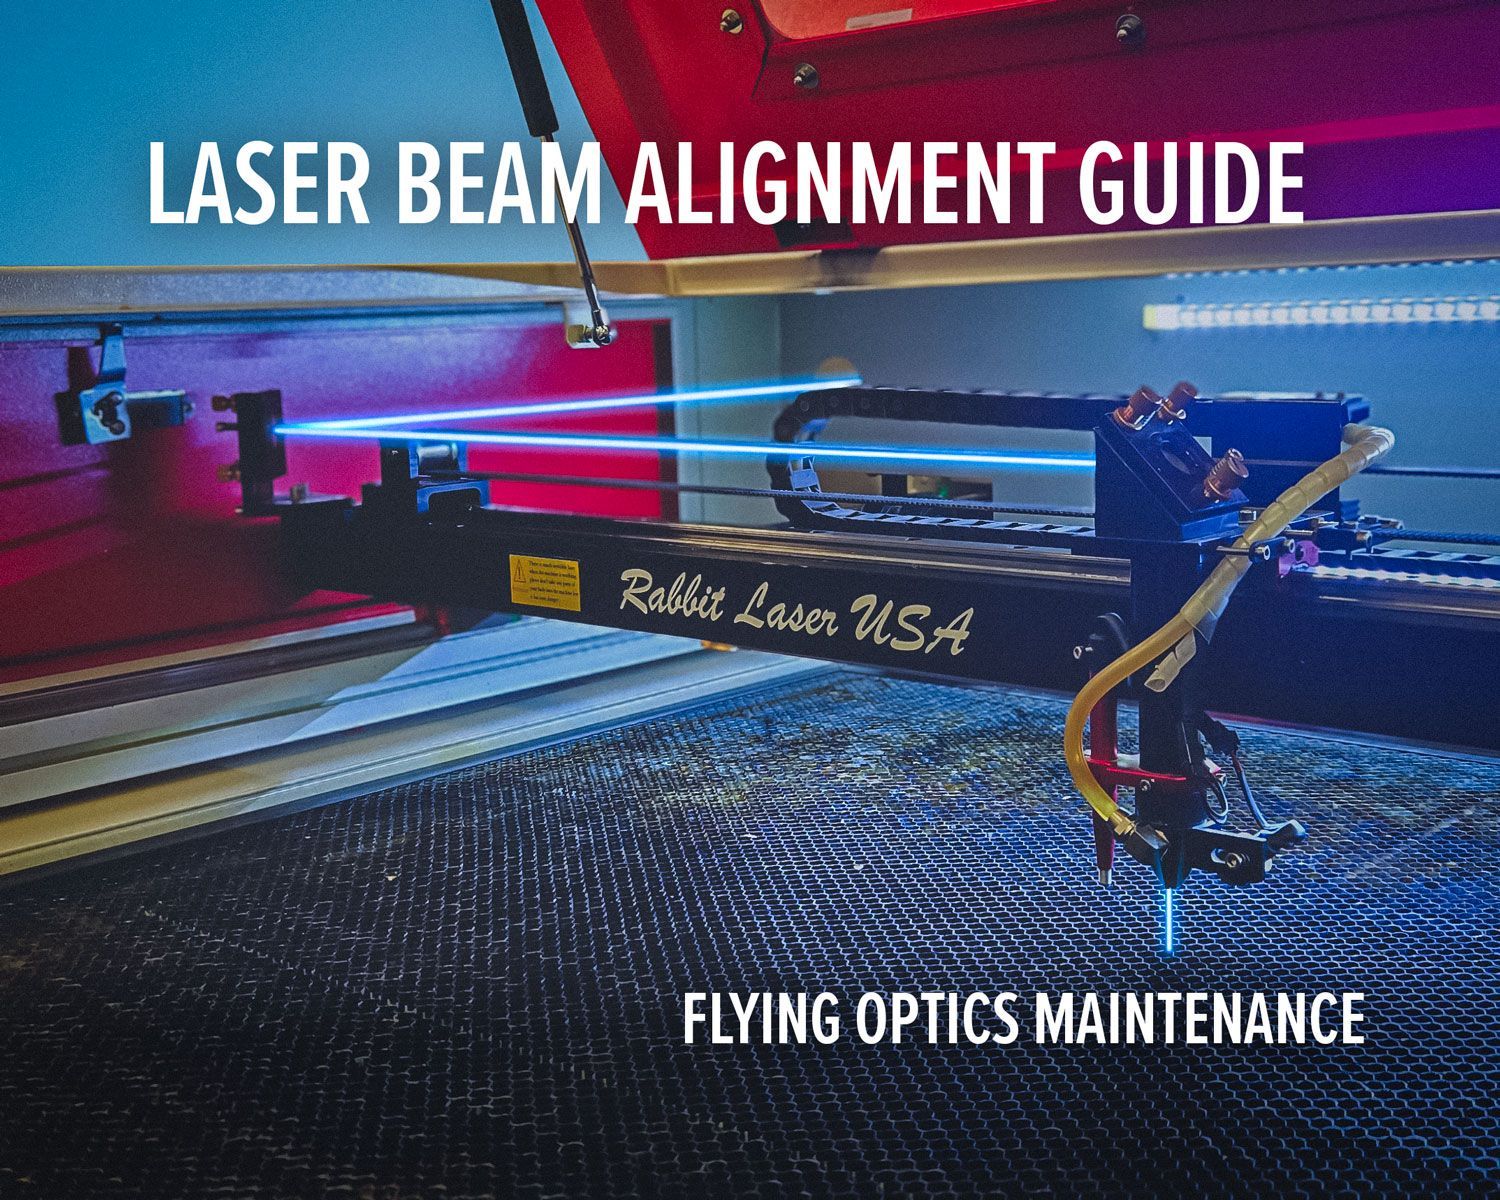
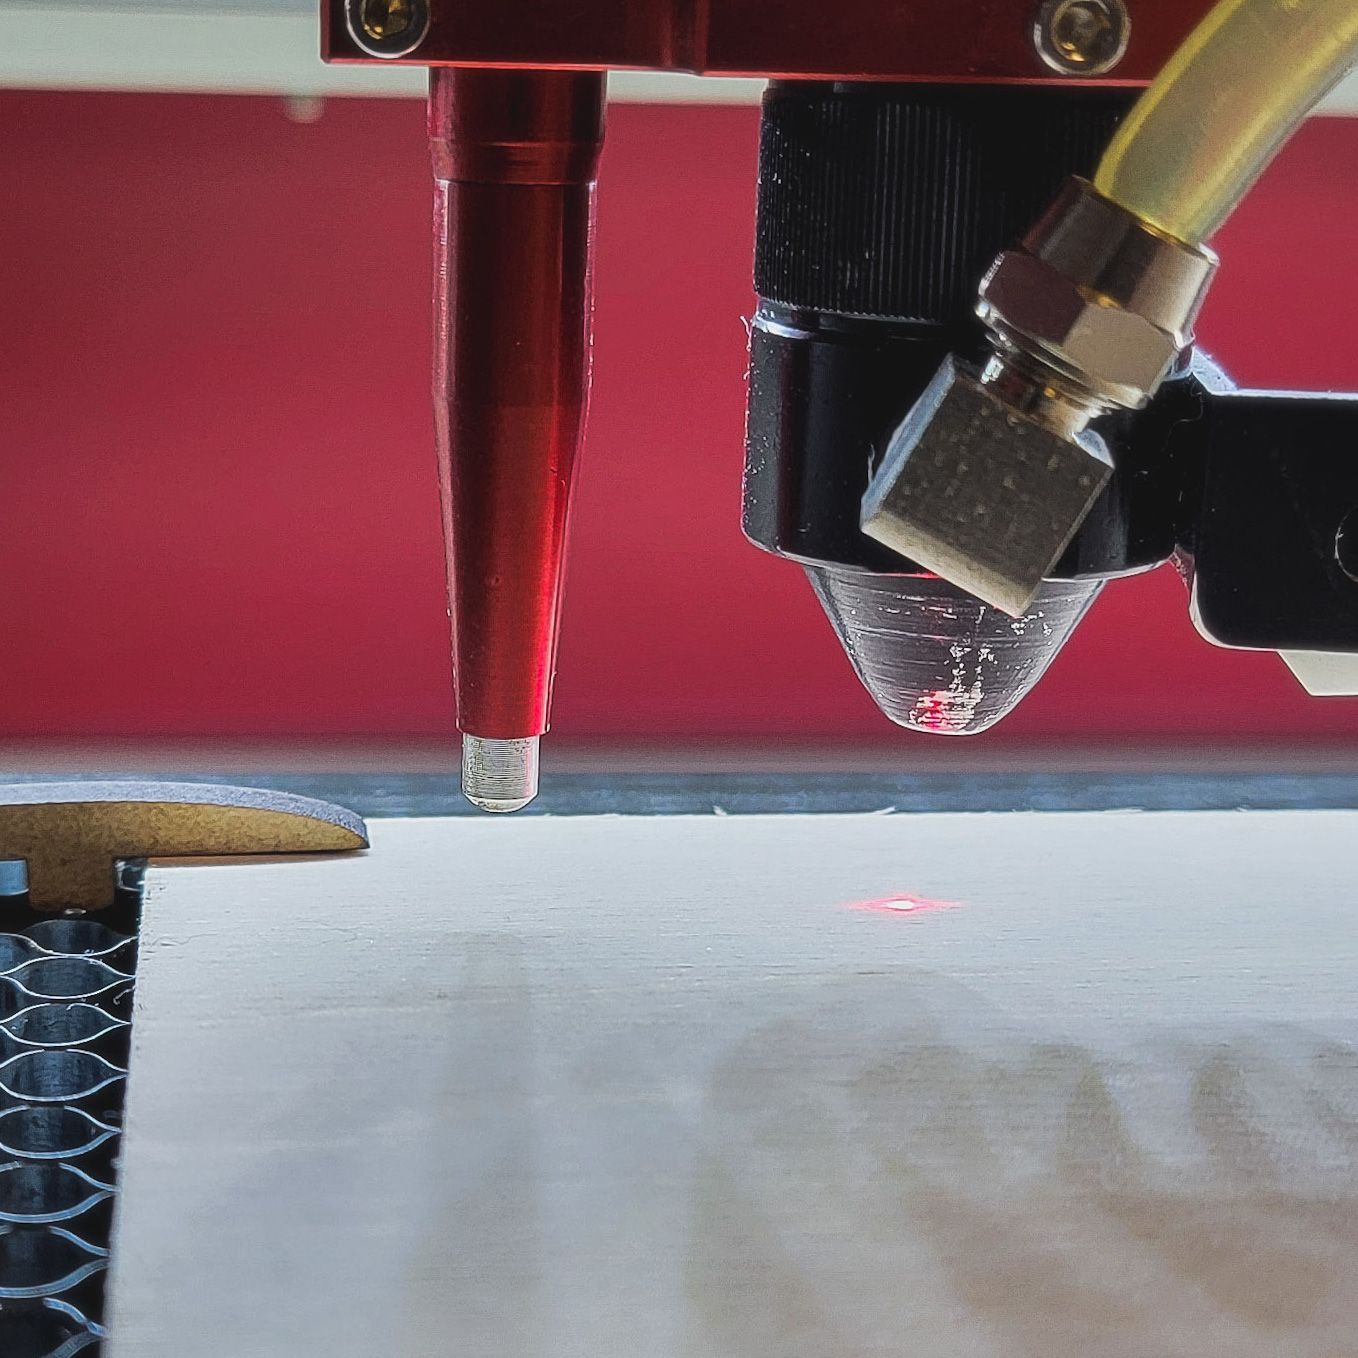
- Dirty Optics: Check and clean your mirrors and lens. Even a small smudge can deflect the beam.
Tech Tip: Our machines ship with calibrated optics, but over time smoke residue builds up. Use lens wipes and a flashlight to inspect surfaces regularly.