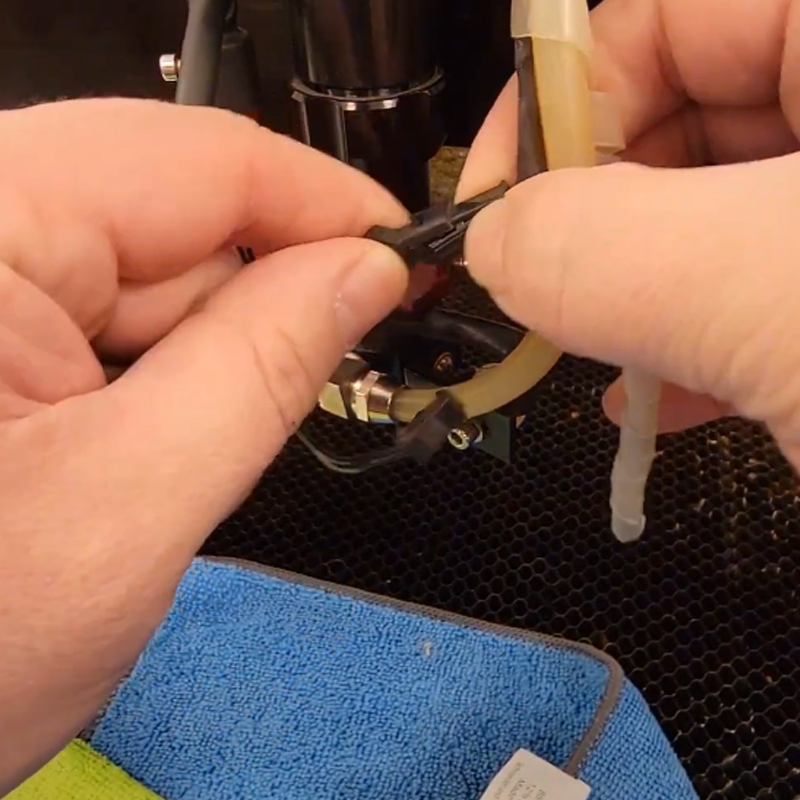
The first step is to disconnect the wires connected to the autofocus and the Red Dot pointer. These are typically the initial components you'll need to address when accessing the lens.
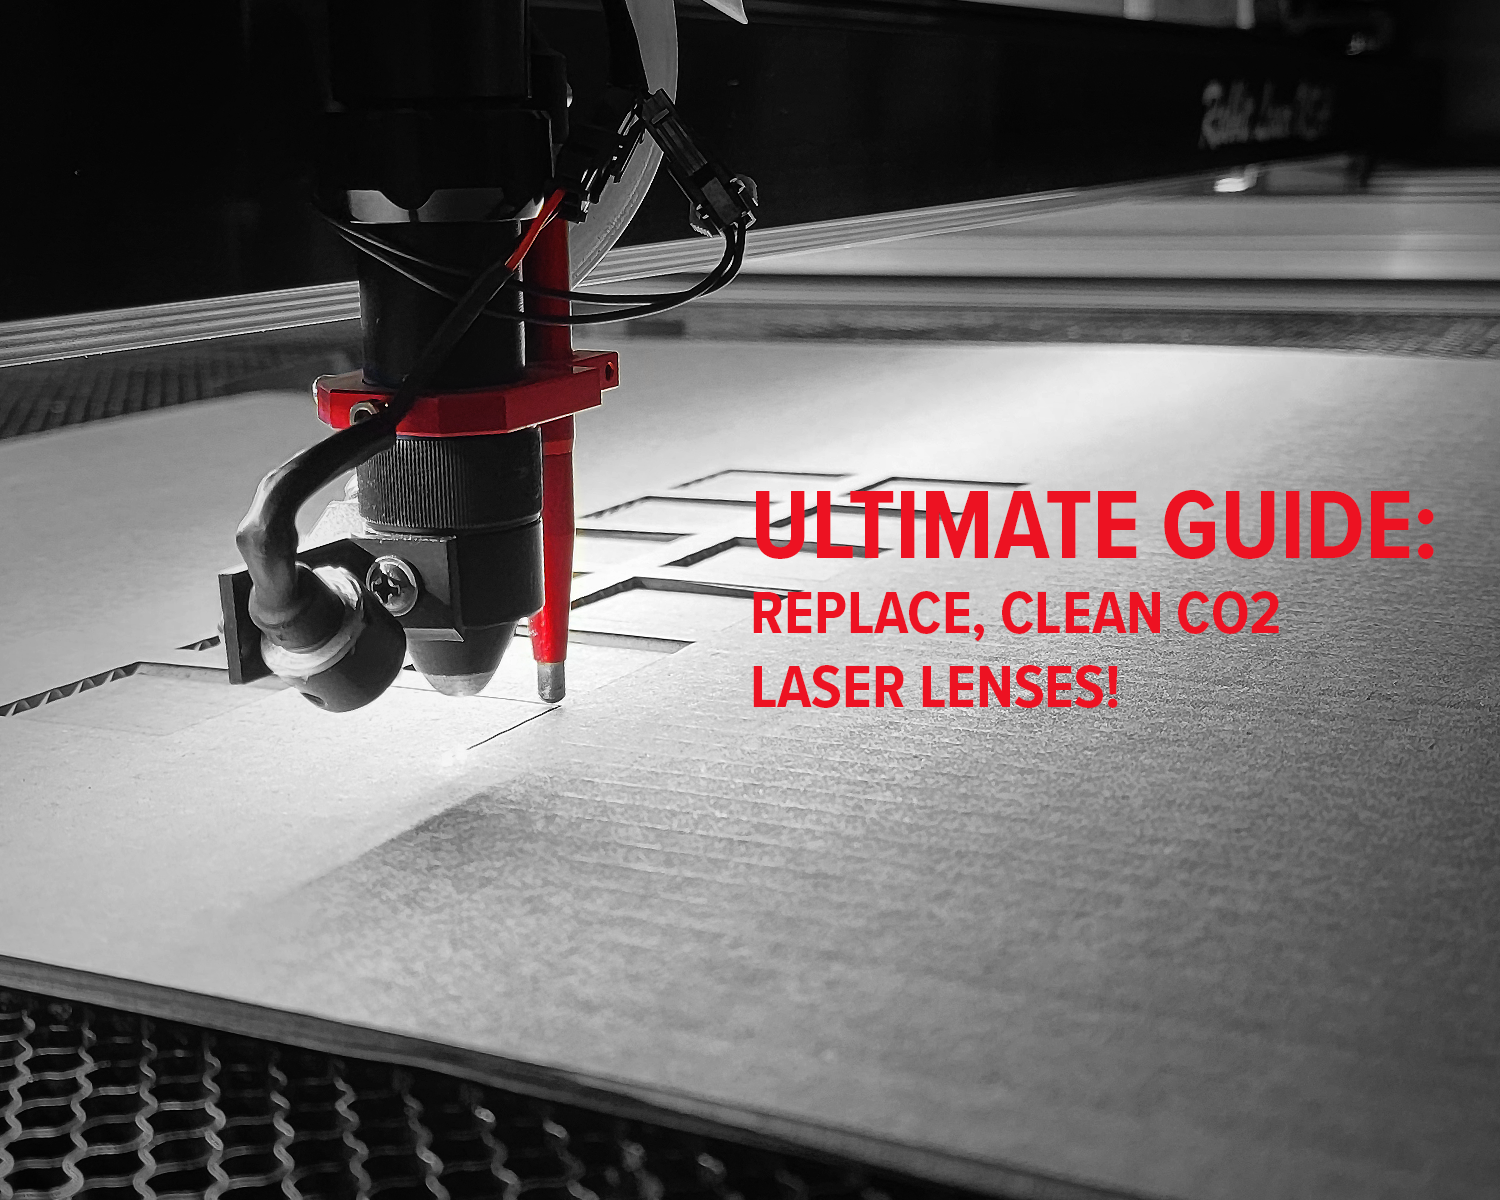
Ultimate Guide: Replace, Clean CO2 Laser Lenses!
Introduction
Are you finding that your CO2 laser machine isn't performing as it should? It might be time to give your lens some attention. In this guide, we'll take you through the process of removing and cleaning your laser lens step by step to ensure it's working optimally. Video with narration at the bottom of this blog.
Disconnecting Components
Loosening the Lens Housing
Removing Autofocus and Lens Housing
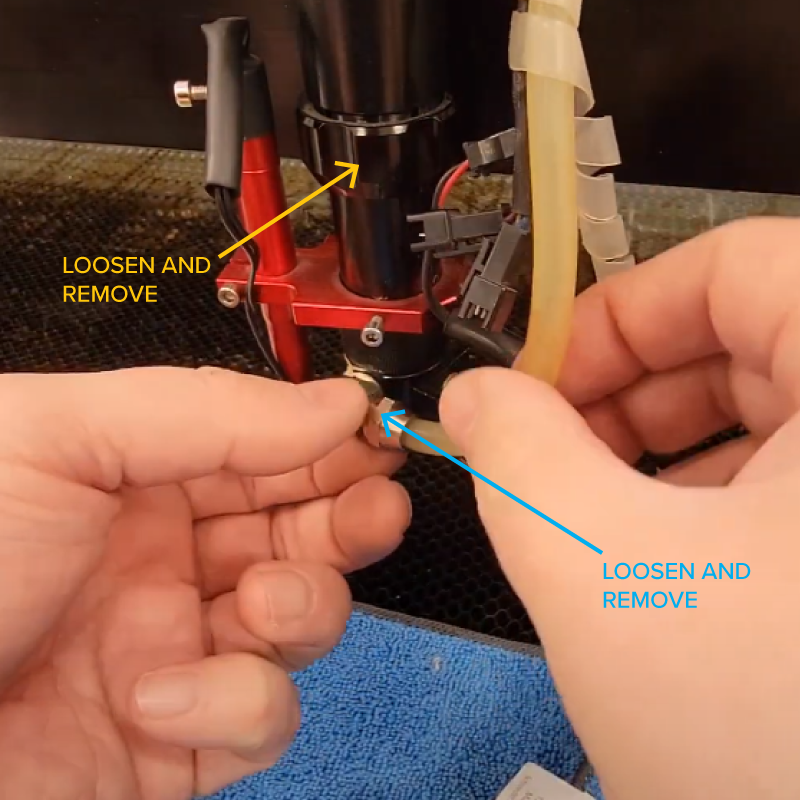
Once the housing is free, remove the collar and use an allen wrench to loosen the set screws for the autofocus. This ensures that you can safely remove the lens without causing any damage.
Unscrewing the Lens Housing
Cleaning the Lens
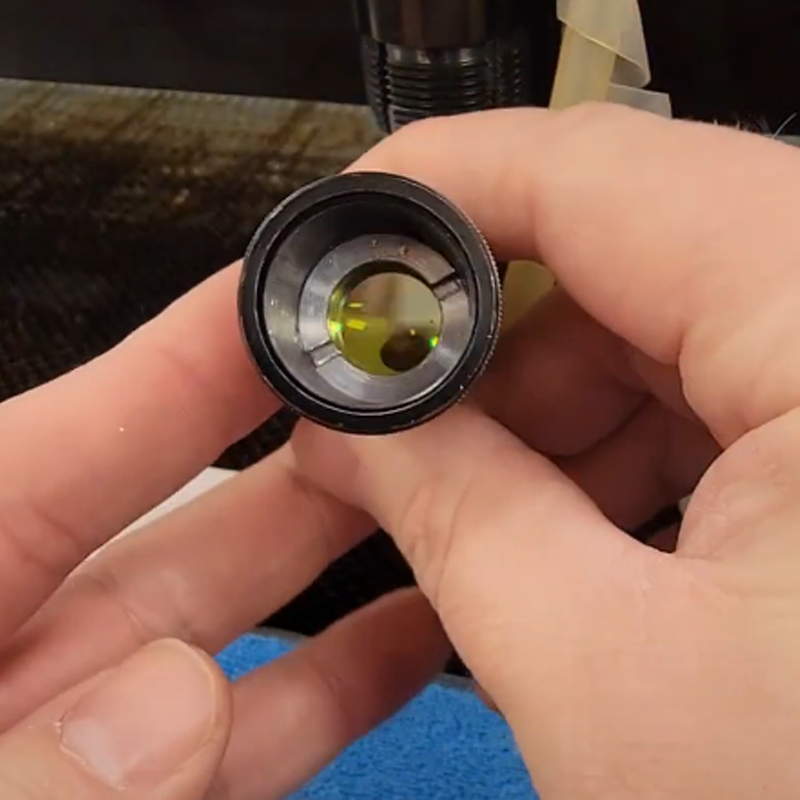
Before proceeding further, it's crucial to clean the lens thoroughly using rubbing alcohol and a microfiber cloth. Make sure no oils or residues are transferred from your fingers to the lens during this process.
Reassembling the Lens
When reinserting the lens, ensure it's correctly oriented with the convex side facing towards the laser Source. Once it's in place, tighten the retaining nut securely.
Final Steps
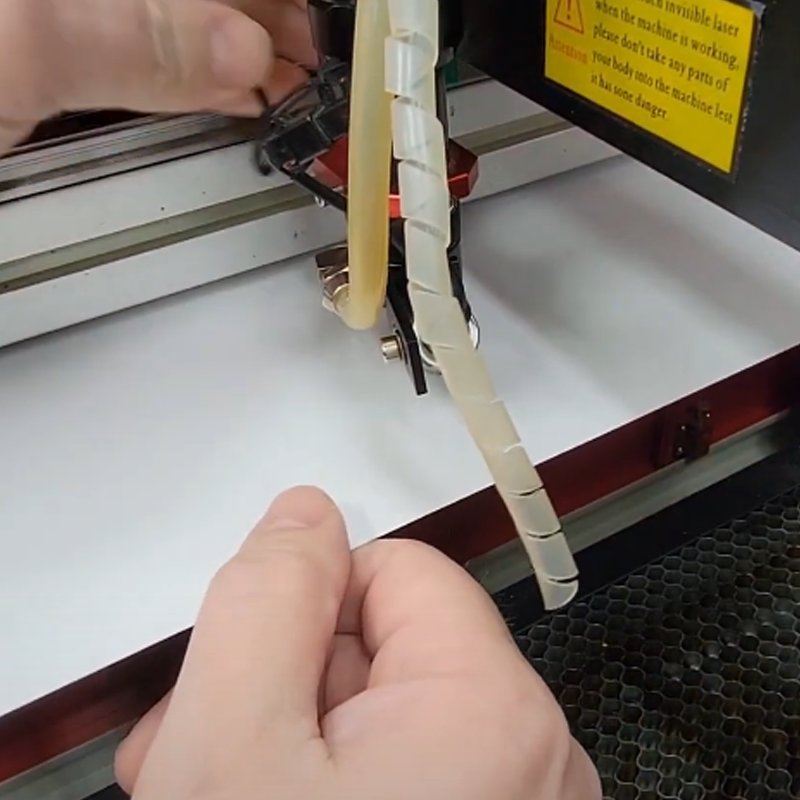
After securing the lens, reattach the nozzle head, autofocus, and collar. Ensure everything is tightened securely but not excessively. Reconnect the wires and tighten the air hose back onto the nipple.
Adjusting Autofocus
Testing and Conclusion
With everything back in place, it's time for a test run. Perform a test cut to ensure everything is functioning correctly. A clean cut indicates that the lens replacement or cleaning was successful.
Maintaining Your Laser Machine Lens
Regular maintenance and cleaning of your CO2 laser machine lens are essential for optimal performance. By following these steps, you can ensure that your laser cutter operates efficiently for all your cutting needs. 🐰
Watch video with narration below.

