Share
The Rabbit Laser USA Way:
Measuring Kerf Size Made Simple
At Rabbit Laser USA, we are committed to precision and excellence in laser technology. Measuring kerf size accurately is essential to ensuring your CO2 laser machine's performance. In this comprehensive guide, we will walk you through the detailed process of measuring kerf size using a 10mm square as an example.
Tools You Need
To begin, you'll need the following tools:
- 10mm Square (cut from machine): This serves as the test subject and should be made from the material you commonly work with, ensuring measurement accuracy.
- Digital Calipers: High-precision digital calipers are ideal for this task, providing measurements to the nearest thousandth of a millimeter.
The Step-by-Step Process
Let's break down the steps to measure your kerf size:
Prepare the Material
Start by cutting a 10mm square using your CO2 laser machine. Ensure that you use the same settings and material you intend to work with for your actual project. This step is crucial, as different materials can yield slightly different kerf sizes.
Measure the Square
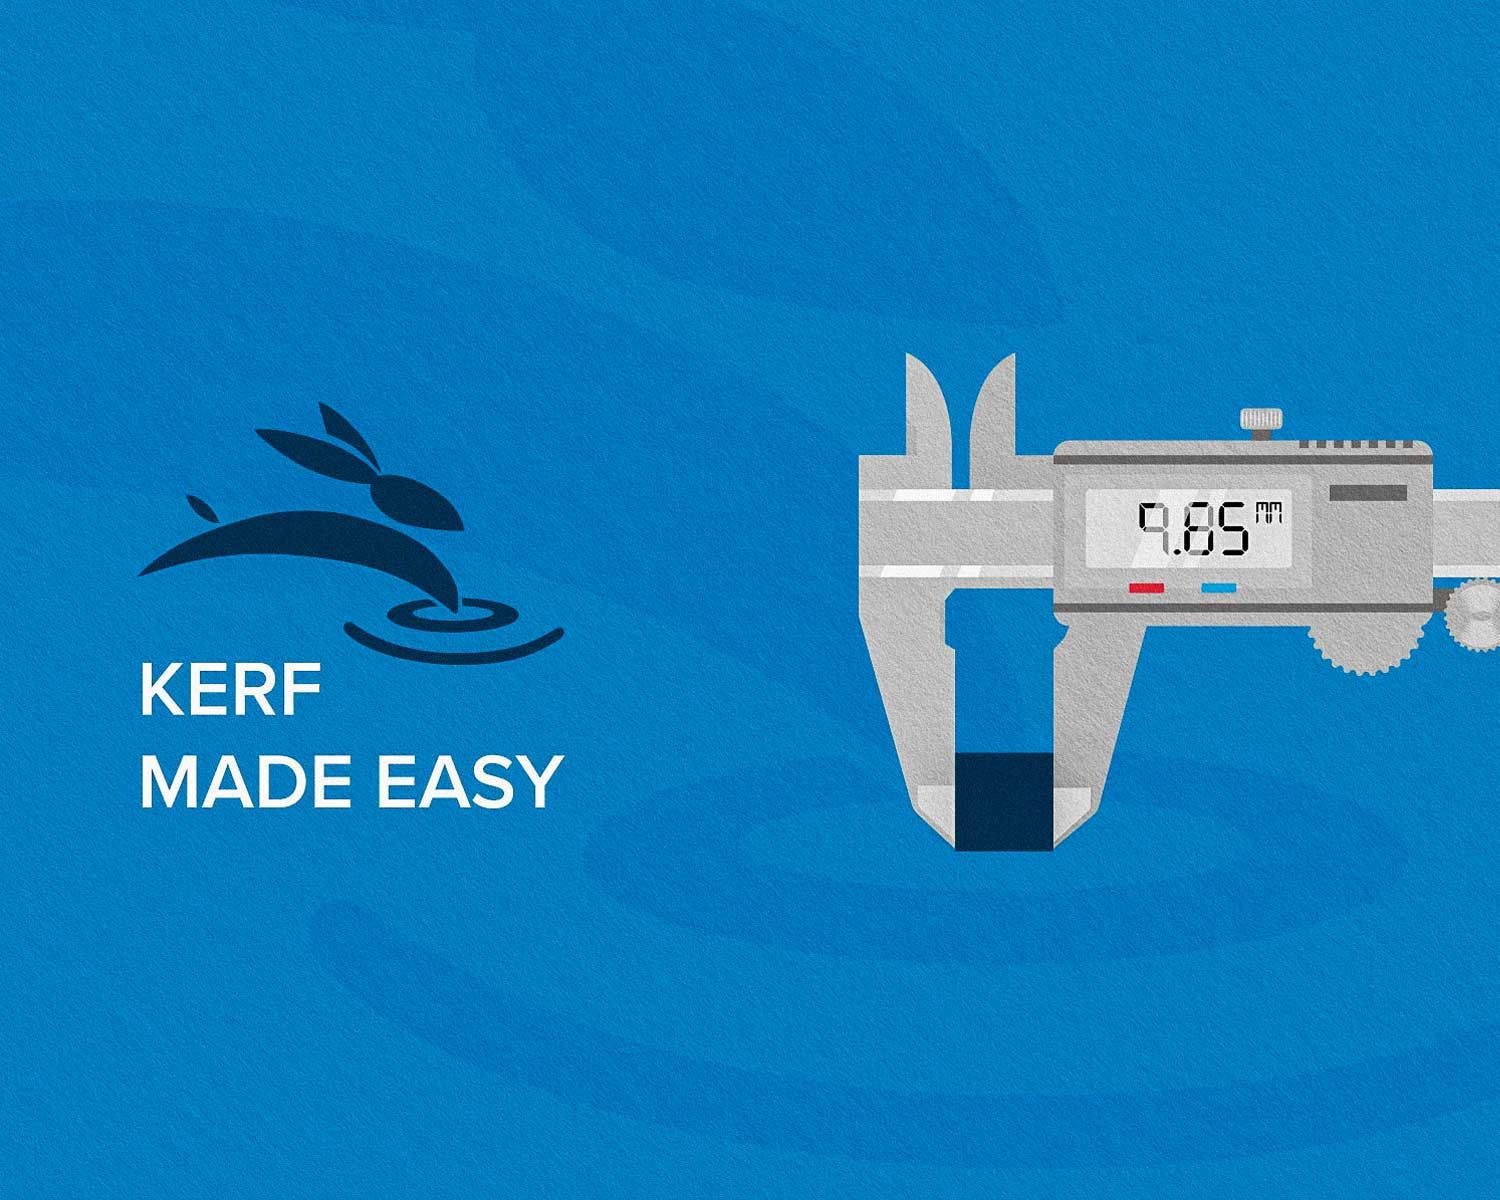
With your 10mm square ready, take your digital calipers and carefully measure the width of the square. Ensure that you measure from one edge to the other, encompassing the kerf. Take the measurement in millimeters and record it.
Calculate the Kerf Size
Now, it's time to calculate the kerf size. Deduct the original 10mm from the measured width of your square. For example, if the measured width is 9.85mm, then your kerf size is 0.15mm.
Repeat for Accuracy
For the highest level of precision, it's advisable to repeat this process multiple times and calculate the average kerf size. This will help account for any slight variations that might occur during the laser cutting process.
Achieving the Perfect Kerf
Measuring your kerf size with precision is a critical aspect of mastering your CO2 laser machine. By following these steps and taking safety precautions (if necessary), you can ensure that your kerf size aligns perfectly with your project's requirements.
At Rabbit Laser USA, we're dedicated to providing you with the knowledge and tools you need to excel in the world of laser technology. So, go ahead and create with confidence, knowing that you have mastered the art of kerf size measurement. 🐇